quick post about something I did last year for a project that never went anywhere.
the Active Contour Model (ACM) is an old fashioned way of vectorizing the contour of an object. it works very well when an object is isolated on a flat color but the principle can also be used “live” to determine where the “border” between different shapes is. In Photoshop, this would correspond to the “magic wand” and the “quick selection tool” respectively.
ACM uses morphological snakes, the principle of snakes is fairly simple to understand, the animations, from this Python implementation’s repo clearly explain the idea. the snake is basically a polyline that can expand or shrink as needed. below the snake is used to enclose a starfish shape.

the snake is like an elastic, first it’s stretched around the starfish and gradually tightens. there’s a major difference between a snake and an elesatic, the snake can go “inside” the creases when an elastic would remain “outside” (thus describing the convex hull of the starfish ).

and in this example, the snake behaves more like expanding foam, progressively filling the space around its starting point until it reaches a boundary.
if the two behaviours seem different, they are actually the same ; the snake is driven by gradient descent, which is a fancy way of saying that the points of the snake are always “rolling downhill”.
so, this gradient is the first thing we’ll have to compute, we’ll need the distance of each pixel to the object we want to capture.
to find this object, I threshold the luminance of each pixel against an arbitrary value, this gives a binary (black & white) image.
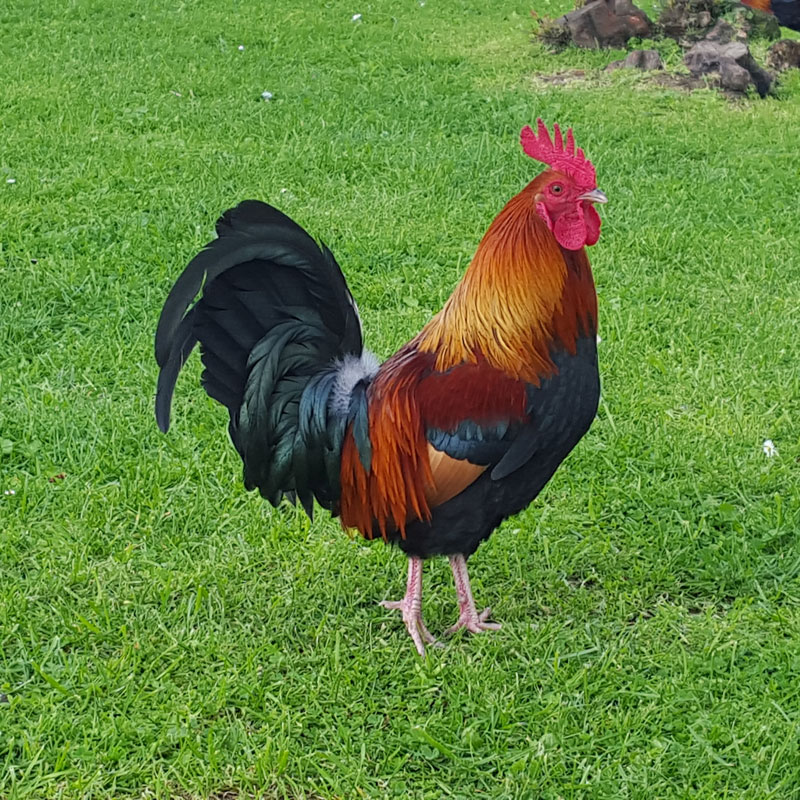
so this glorious rooster:

gives this binary image after threshold

then I found & ported a Java example that computes the gradient flows. I don’t quite understand everything that happens there but it samples the neighbourhood of each pixel with a sparse convolution matrix twice, forward and backwards. during the forward pass, it gives an average score to each pixel and during the backwards pass, it sums them up to get the final result.
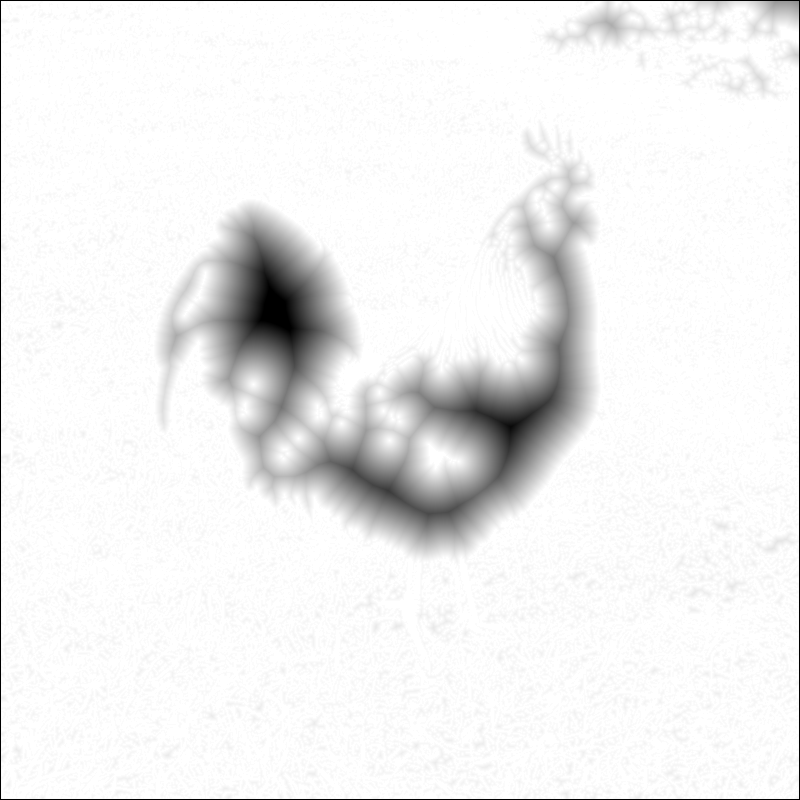
our binary image will turn into this Worley-ish voronoi-ish series of gradients:

along which the snakes’ points will be free to roll. also note that the black areas contain the morphological skeleton of the image which can be extremely useful :)
with 2, 2D dimensional Flow martices flowX & flowY, we move the points around by doing something like:
|
1 2 3 4 5 6 7 8 |
var scope = this; this.snake.forEach(function (p) { if (p[0] <= 0 || p[0] >= scope.w - 1 || p[1] <= 0 || p[1] >= scope.h - 1)return; var vx = (.5 - scope.flowX[~~( p[0])][~~( p[1] )] ) * 2; var vy = (.5 - scope.flowY[~~( p[0])][~~( p[1] )] ) * 2; p[0] += vx * 100; p[1] += vy * 100; }); |
an interesting property of the snake is it’s ability to shrink / expand. this is one of the properties of differential growth, it’s a very rich mechanic. the snake is made of edges and stores a min/max length for an edge. each time we update the snake, it can either :
- destroy an edge if it is too short
- do nothing if the edge is not too short and not too long
- subdivide an edge if it is too long
or in code:
|
1 2 3 4 5 6 7 8 9 10 11 12 13 14 15 16 17 18 19 20 21 22 23 24 25 26 27 28 29 30 31 32 33 |
var tmp = []; for( var i = 0; i < this.snake.length; i++ ){ var prev = this.snake[(i - 1 < 0 ? this.snake.length - 1 : (i - 1))]; var cur = this.snake[i]; var next = this.snake[(i + 1) % this.snake.length]; var dist = distance(prev, cur) + distance(cur, next); //1 if the length is too short (destroy = don't store this point) if (dist > this.minlen){ //2 if it is below the max length if (dist < this.maxlen) { //store the point tmp.push(cur); }else{ //3 otherwise split the previous and the next edges var pp = [lerp(.5, prev[0], cur[0]), lerp(.5, prev[1], cur[1])]; var np = [lerp(.5, cur[0], next[0]), lerp(.5, cur[1], next[1])]; // and add the 2 midpoints to the snake tmp.push(pp, np); } } } this.snake = tmp; //lerp: function lerp(t, a, b) { return a + t * ( b - a ); } |
simple enough right?
and this kind of logic is used in many procedurally generated pieces like this for instance:
it’s important to note that the snake should stop when all the points have reached a local minima (the bottom of a valley) but that it doesn’t always happen so I’ve set a max number of iterations instead. Once the process is over, the callback method recieves a series of points that describe the enclosing shape, this polygon can be used to mask or clip the image, or just as a vector shape.
I’ll leave you with a bunch of samples, click on the pictures below to get started.
here’s a ZIP of the code with the sample images, they come from https://www.walldevil.com/
enjoy :)
Hello Nico !
I worked on something very similar last month and it’s fun to see that we choose very different approach even if we get almost the same results.
Always happy to see your work :)
Hi tlecoz,
Can you share your approach with us? I am working on the same issue.
Thanks, :)
hmm…
Can you try to explain what happen in this line ?
var vx = (.5 – scope.flowX[~~( p[0])][~~( p[1] )] ) * 2;
What “~~” used for ?
Thank you
Hey!
I’d like to see how you solved the problem :)
The ~~(value) is equivalent to parseInt(value), it turns floats to integers so that they can be used as keys for the flow matrices.
Thank you for the explanation :)
I will do my best to rebuild a blog in the next 2 months.
I’m working on so much subject you like since last october, I really must write about it, at least for you.
(I feel like a “deja-vu” :) )
Your web script example working just with Firefox , not with Opera. Good idea.