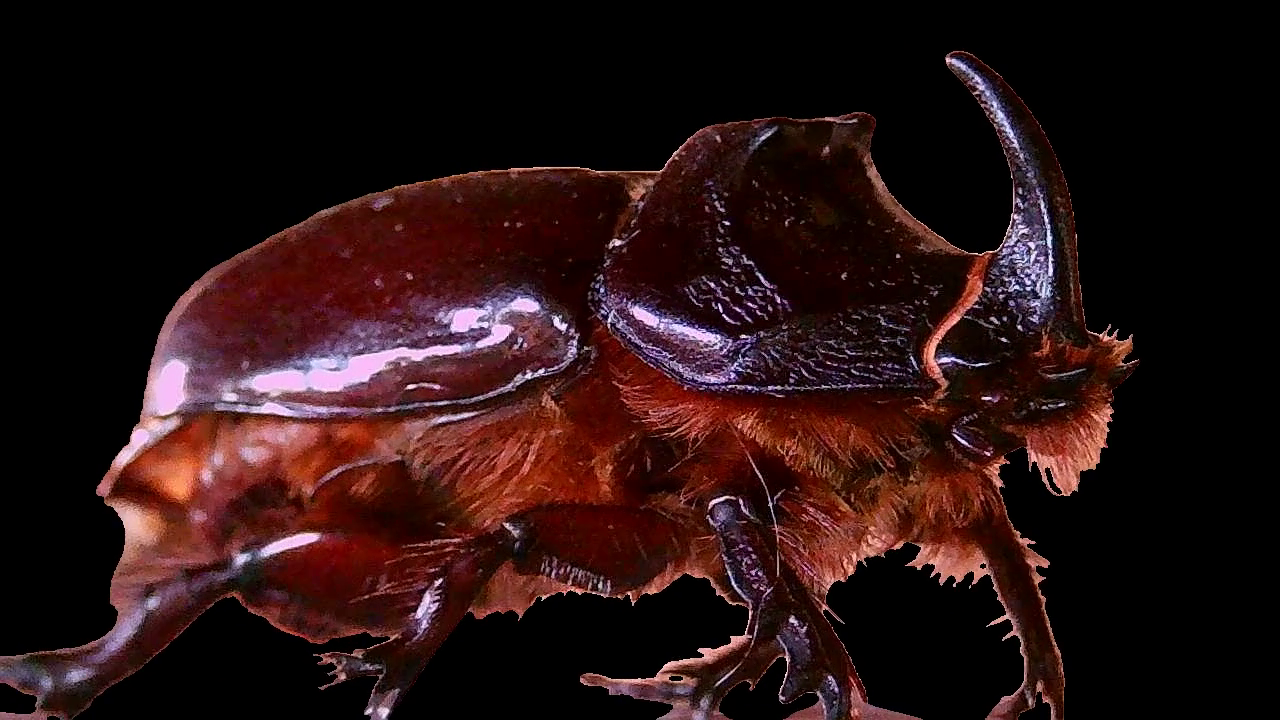
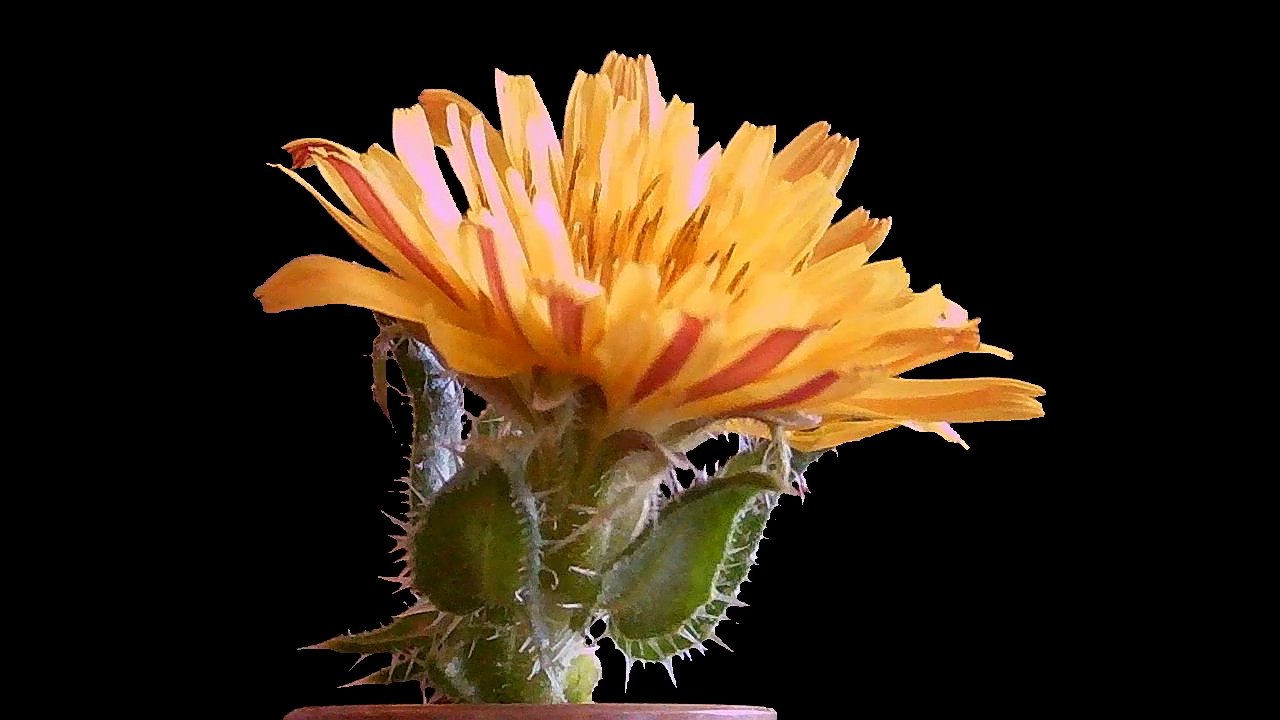
If you’re into Gaussian Splatting, chances are you saw the work of Dany Bittel. Dany creates stunningly detailed GaussianSplatmodels using macro photography. This was extremely inspiring to me and I wanted to capture tiny things too.
Creating this kind of Gaussian models involves some pretty advanced rigs, often using dozens of synchronized cameras and controlled lights or at least a professional camera and a stepper (rotator unit) there are plenty of good advices here and there on how to DIY.
Is it impossible then? NONSENSE!
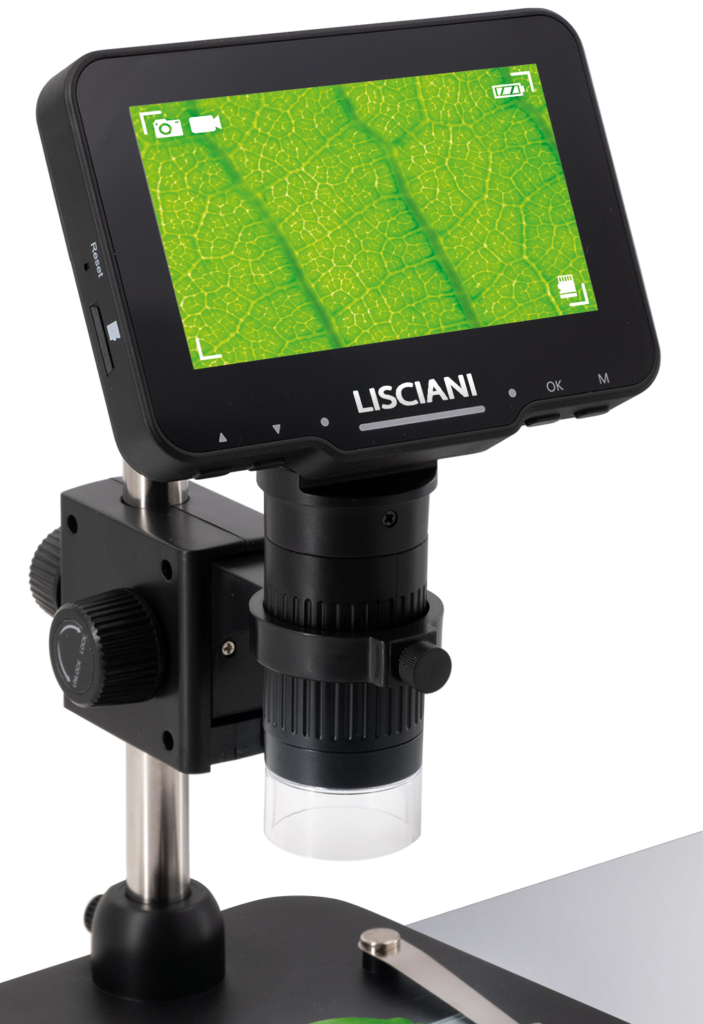
A month ago I bought a digital toy microscope for 60 euros, it supposedly has 200x optical zoom and produces extremely grainy 1280×720 videos and images with a very erratic white balance.
Good point, it can be taken it off its base to go on a field trip which is quite amazing :)
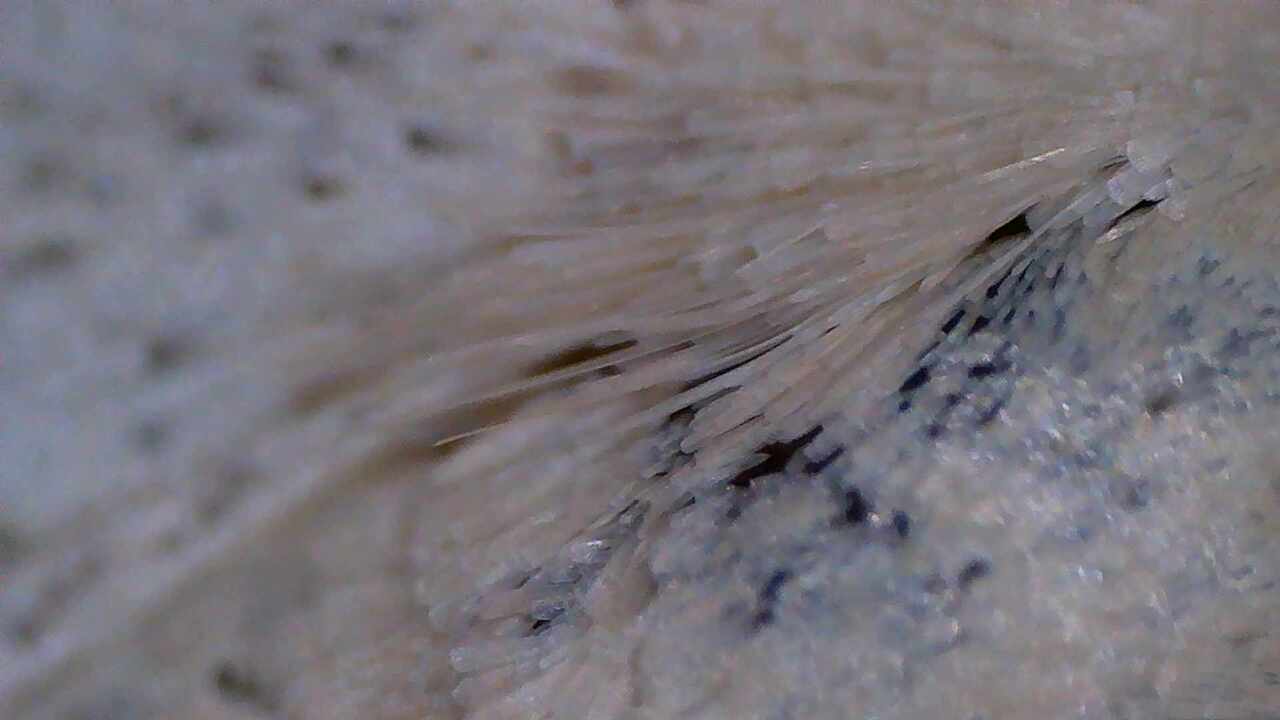
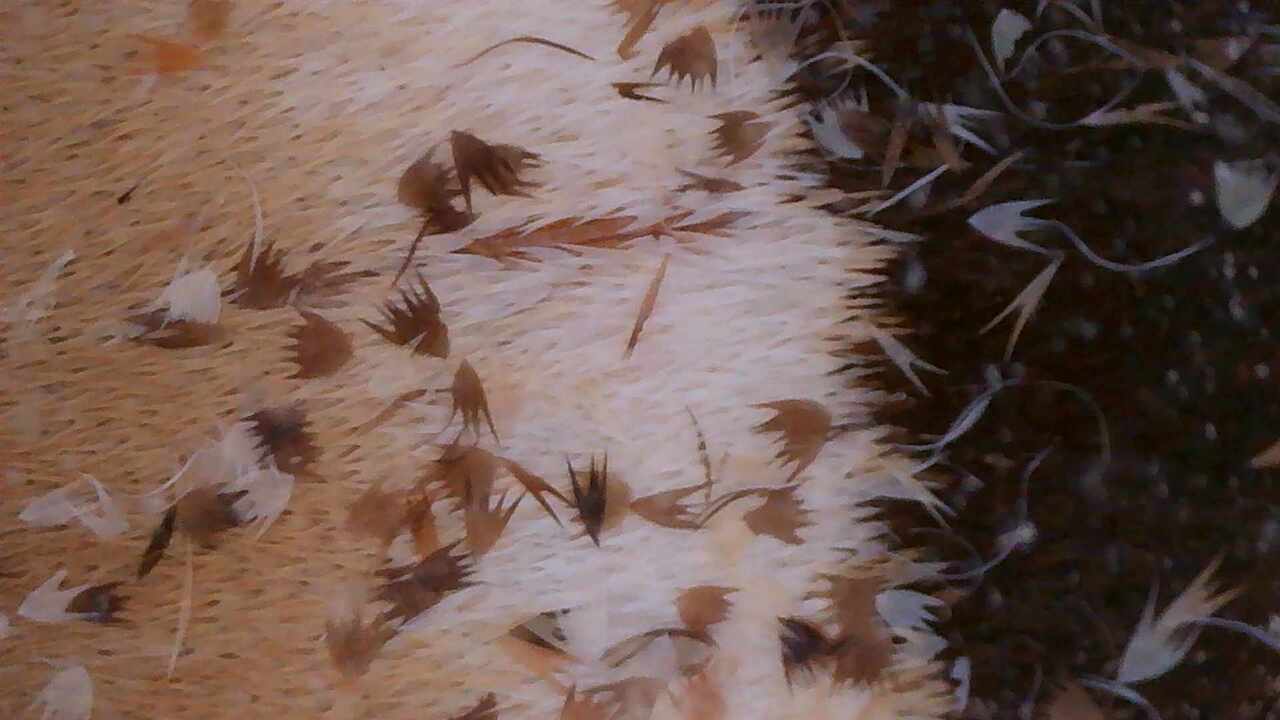
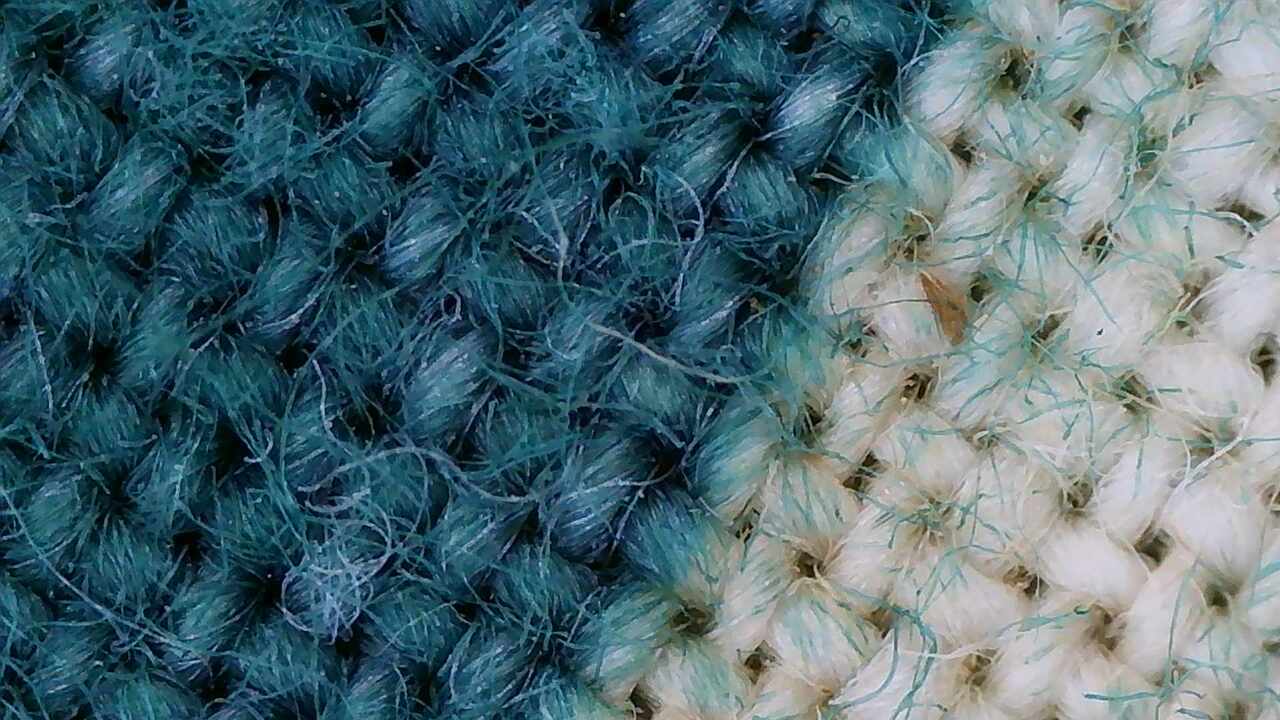
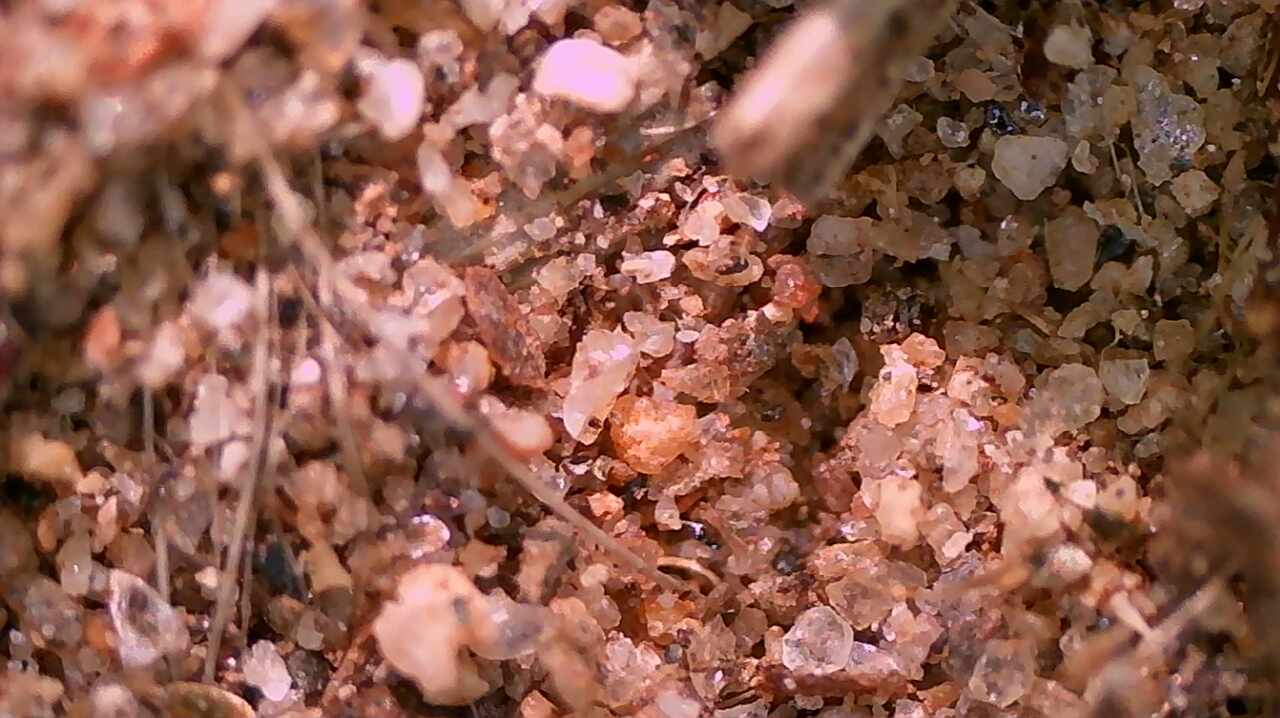
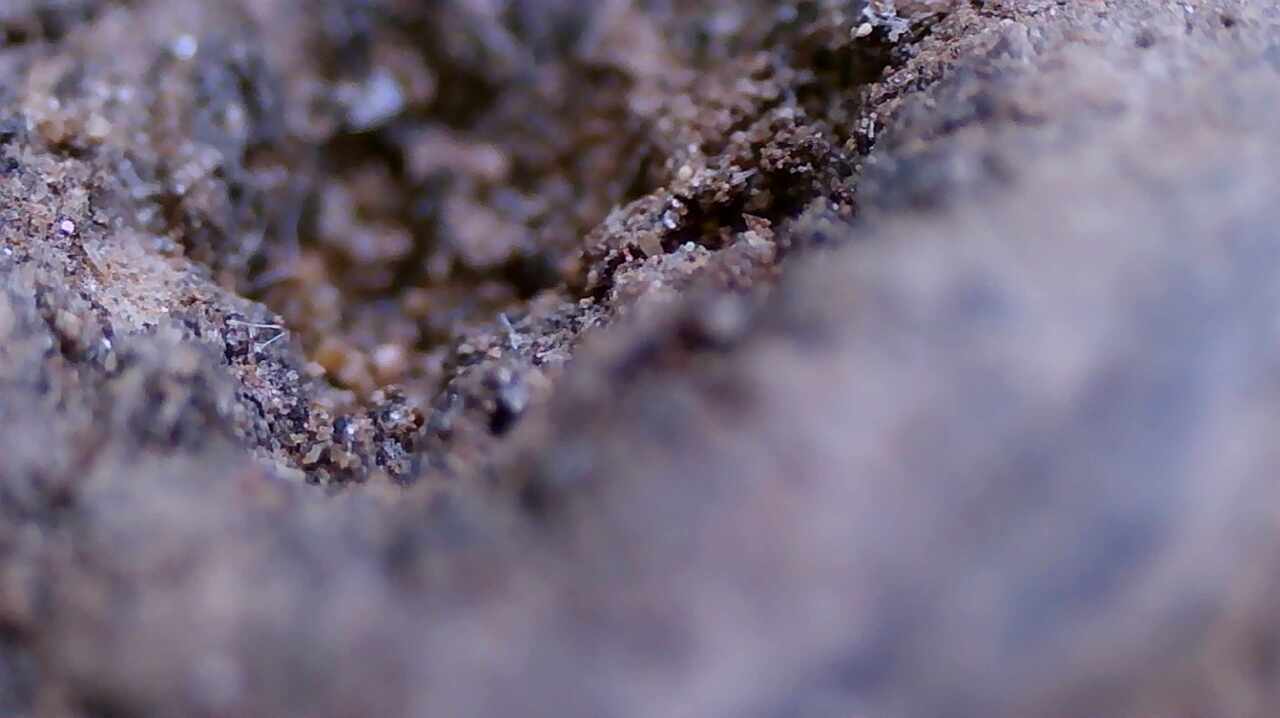
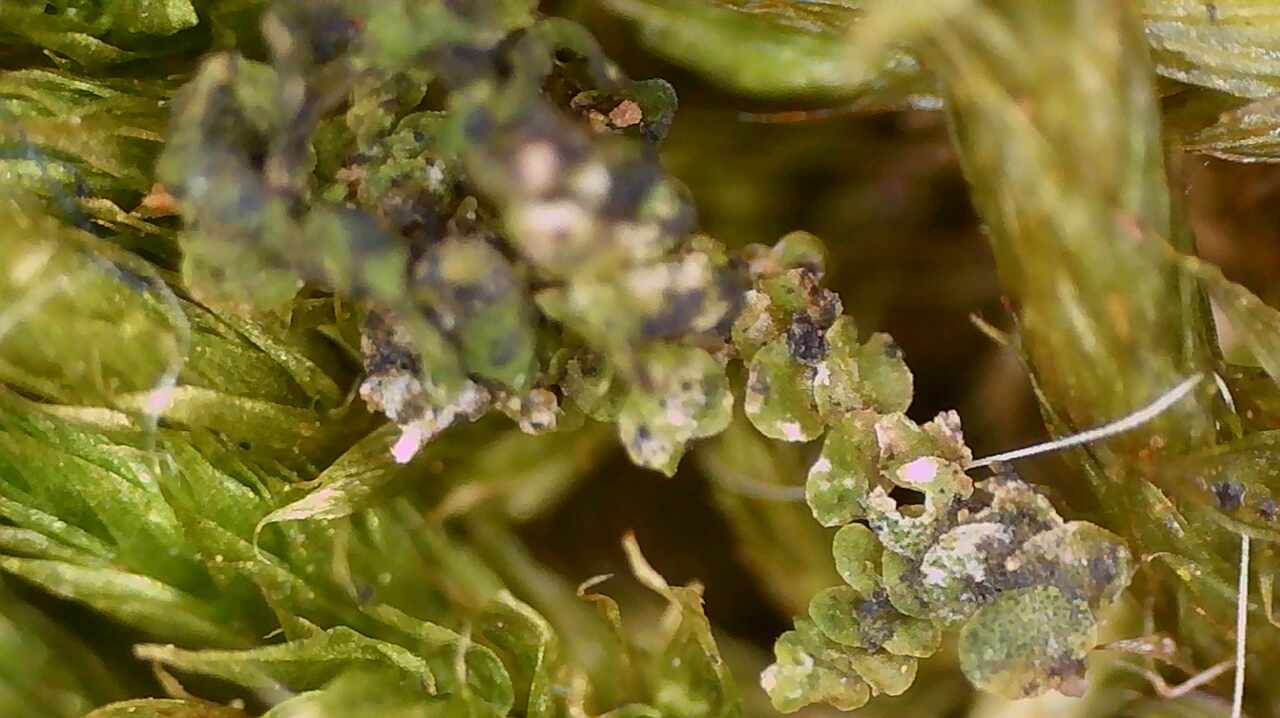
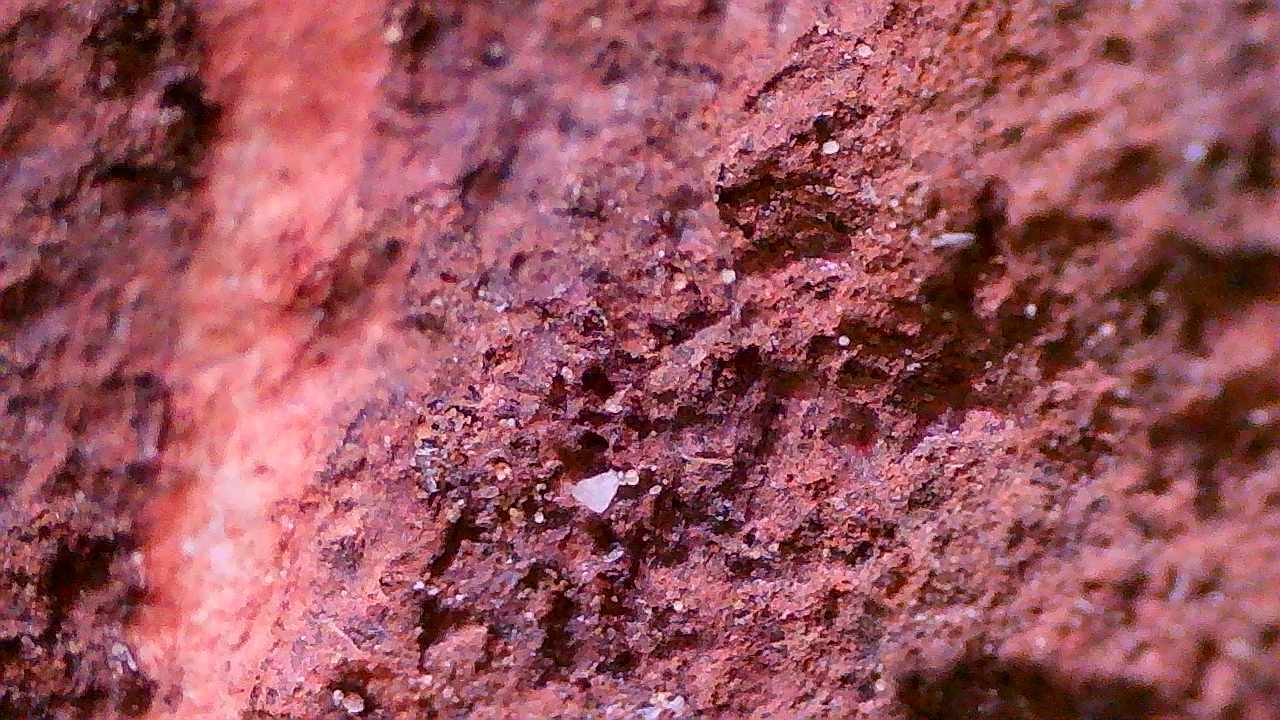
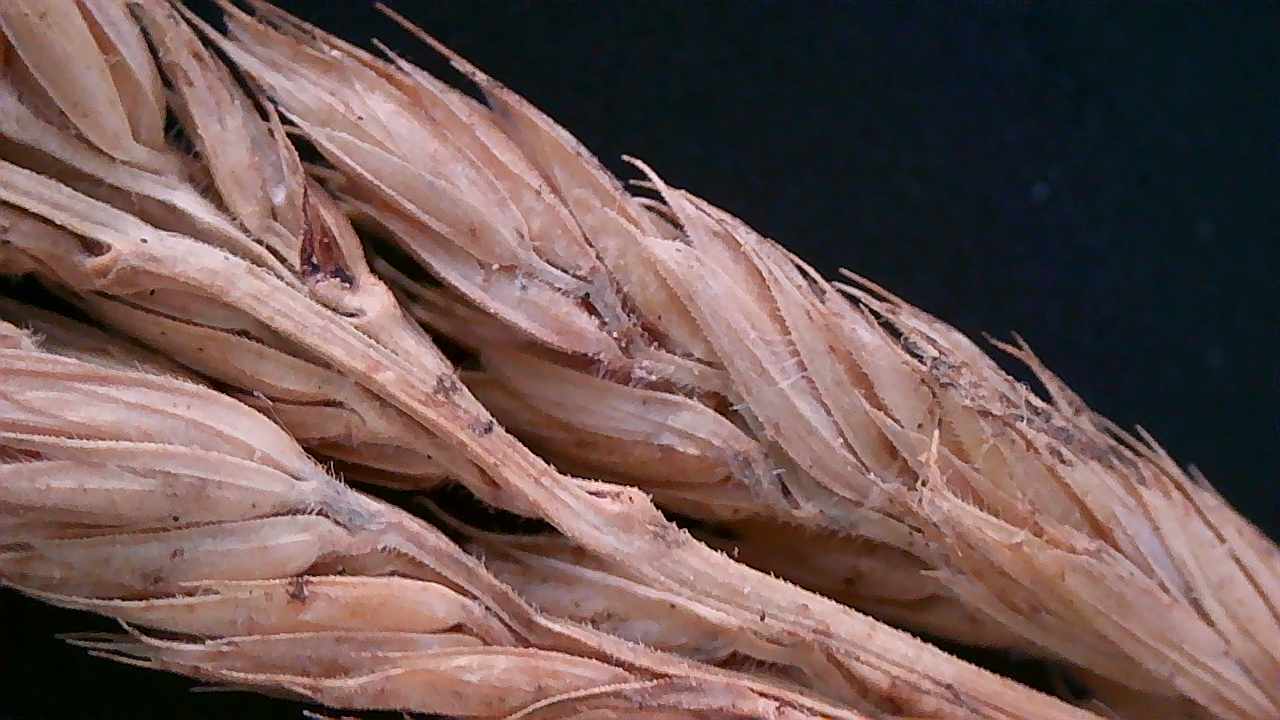
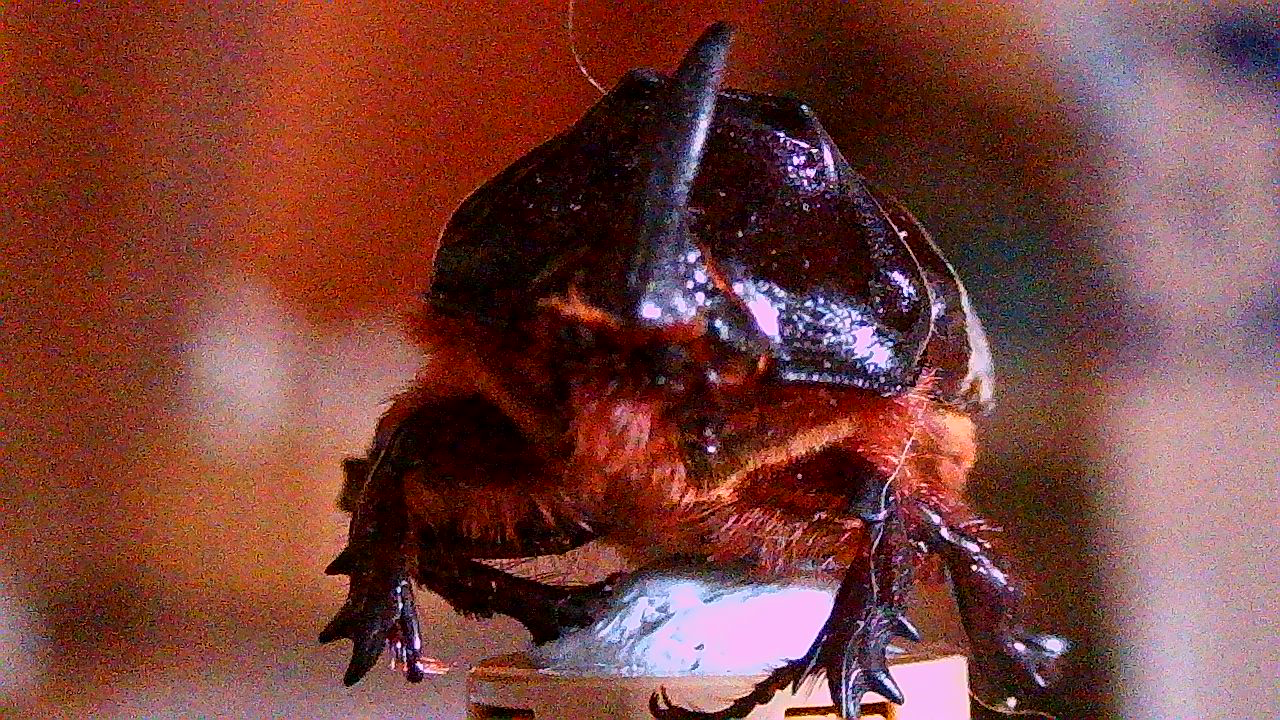
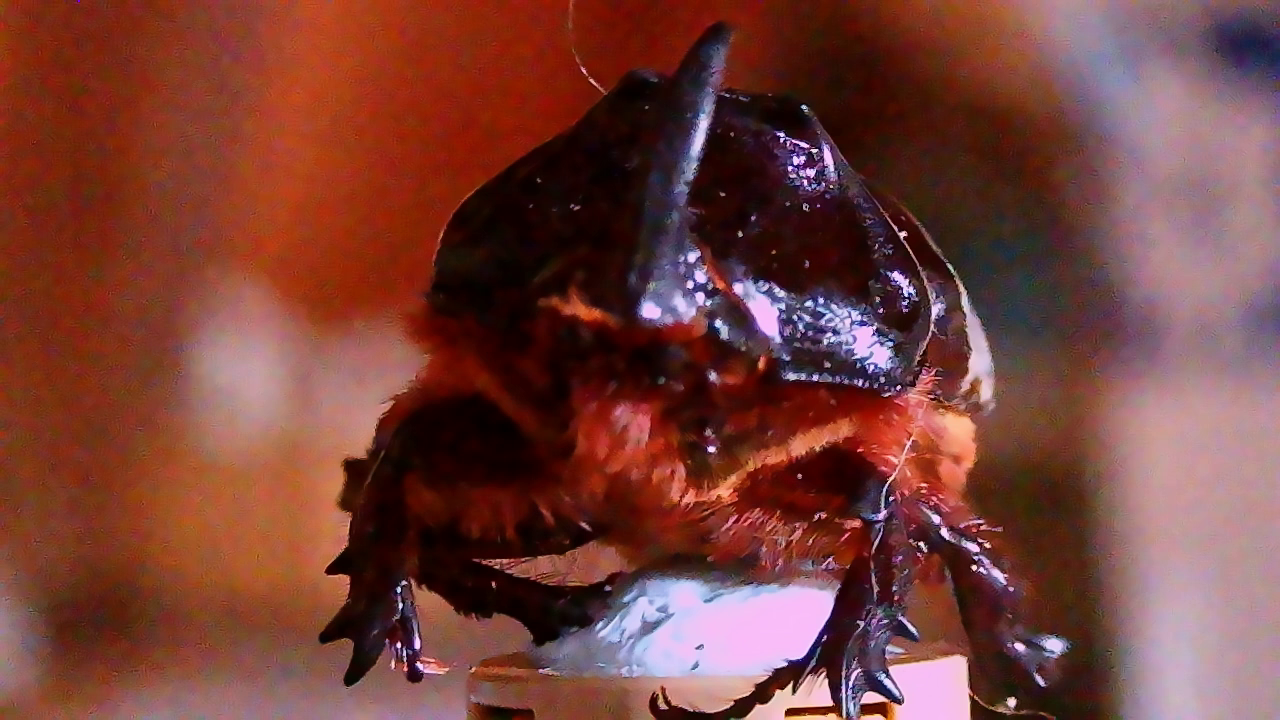
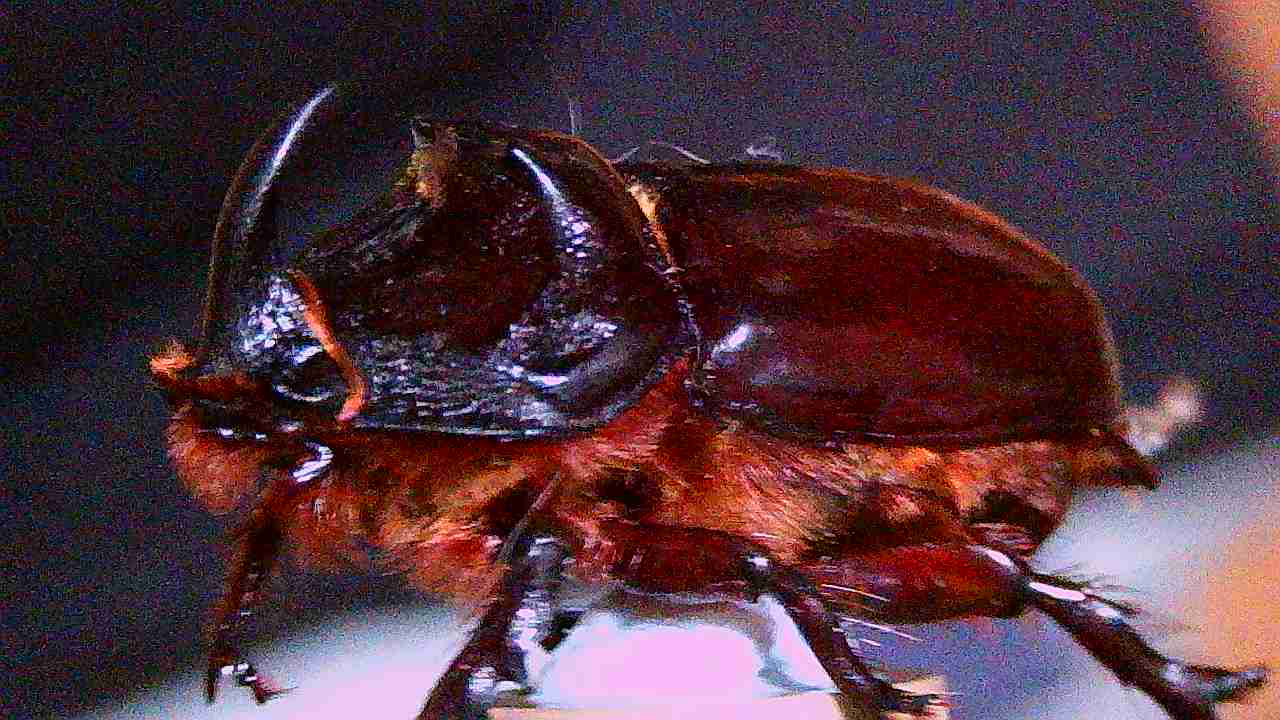
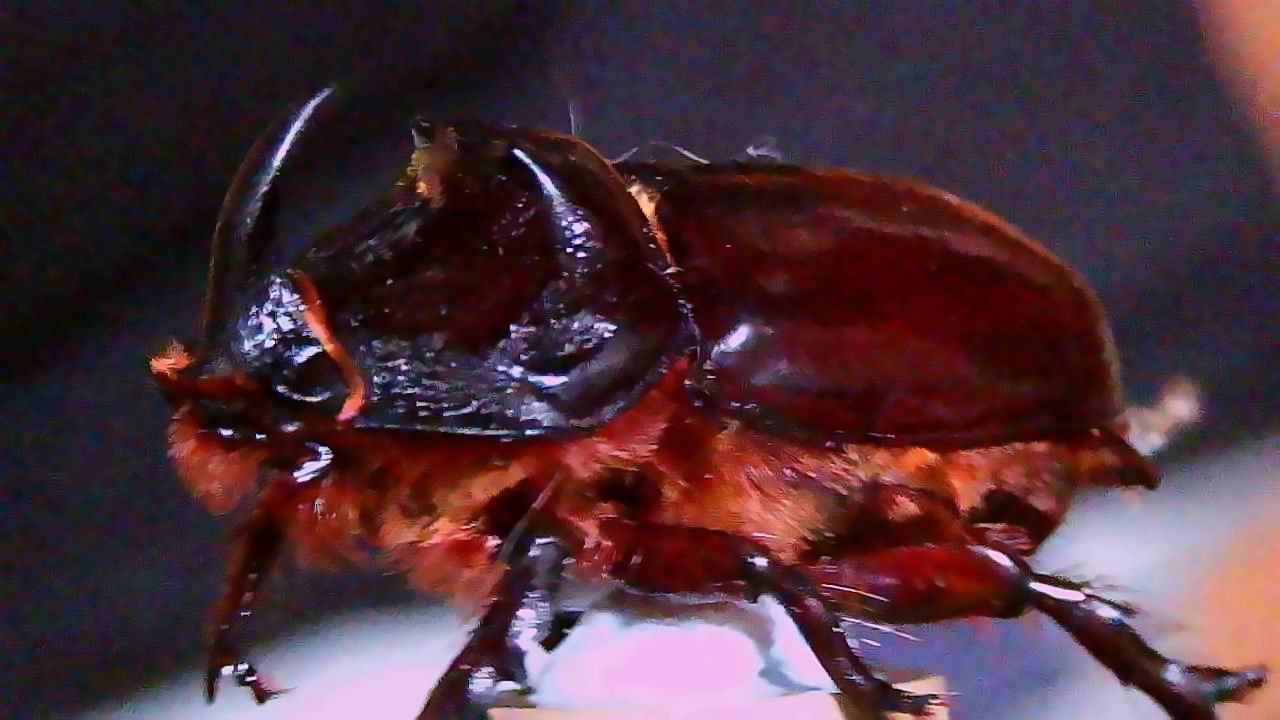
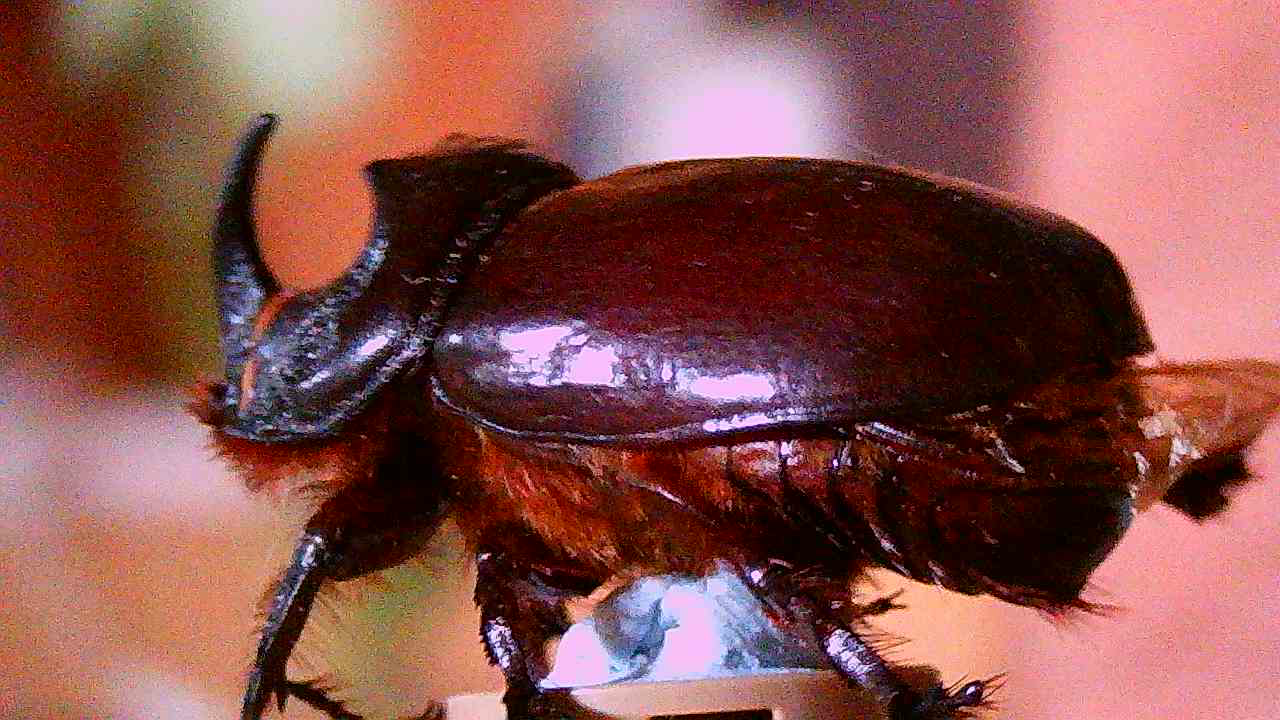
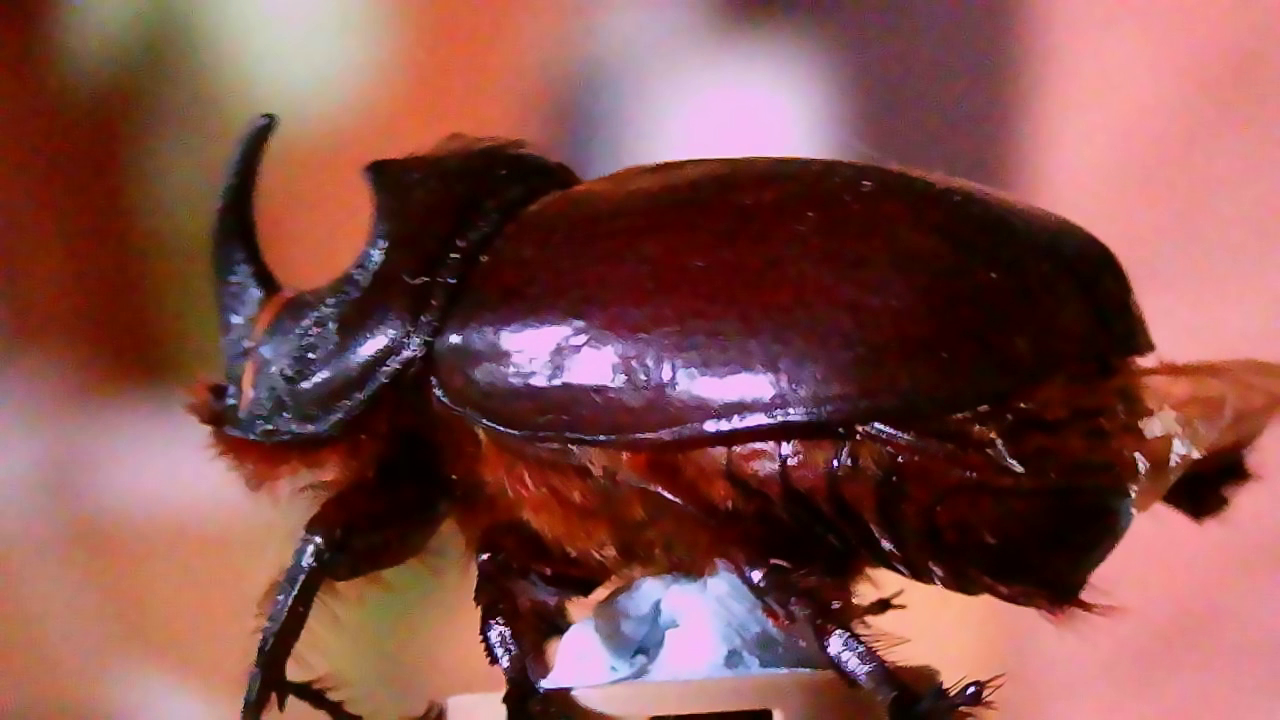
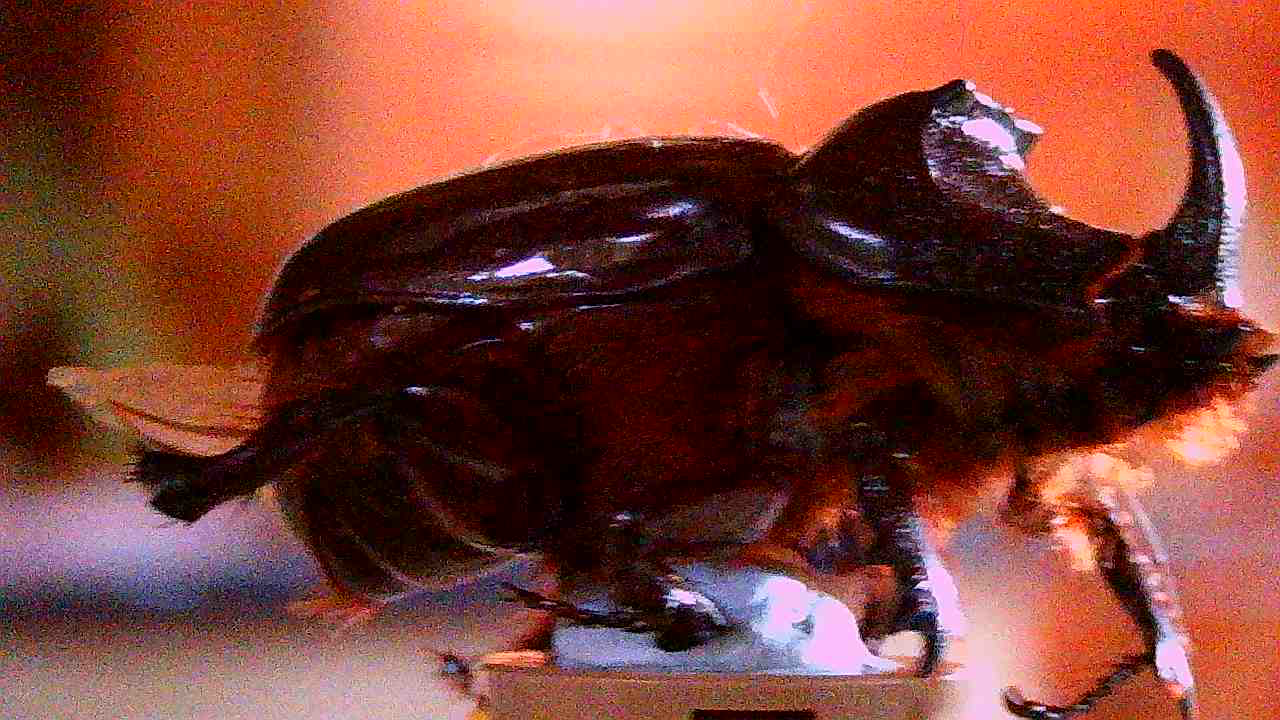
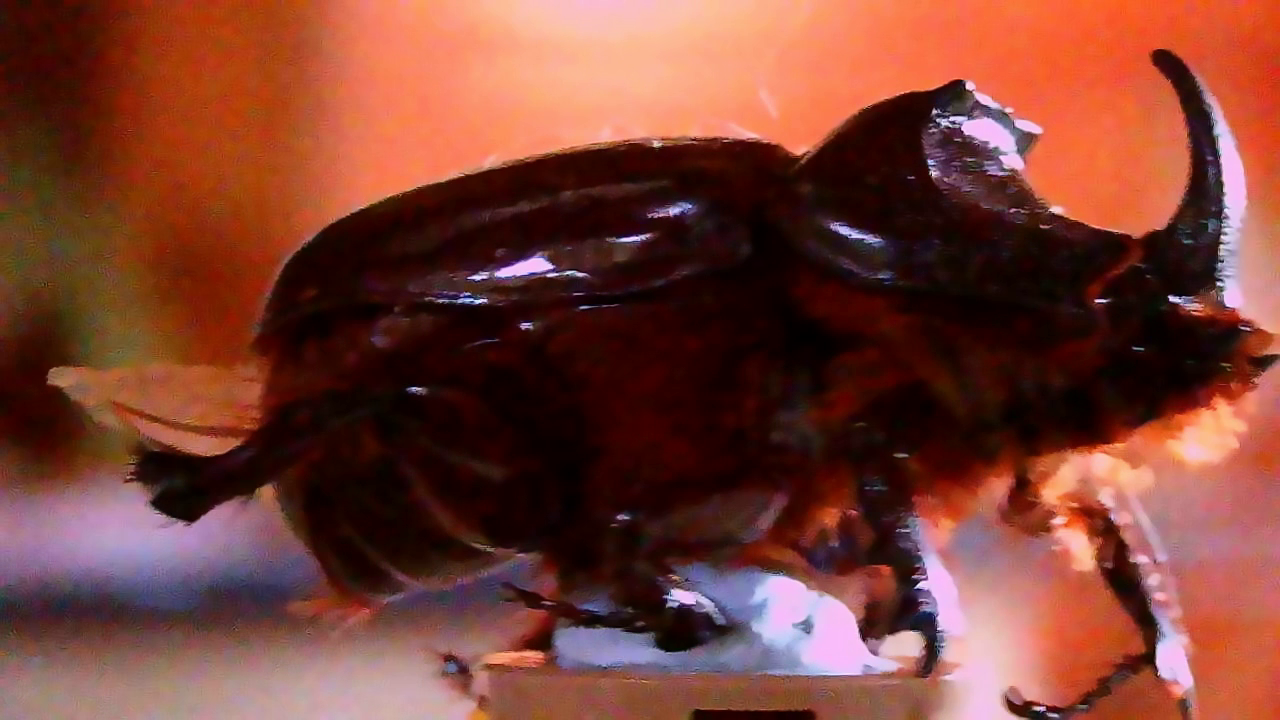
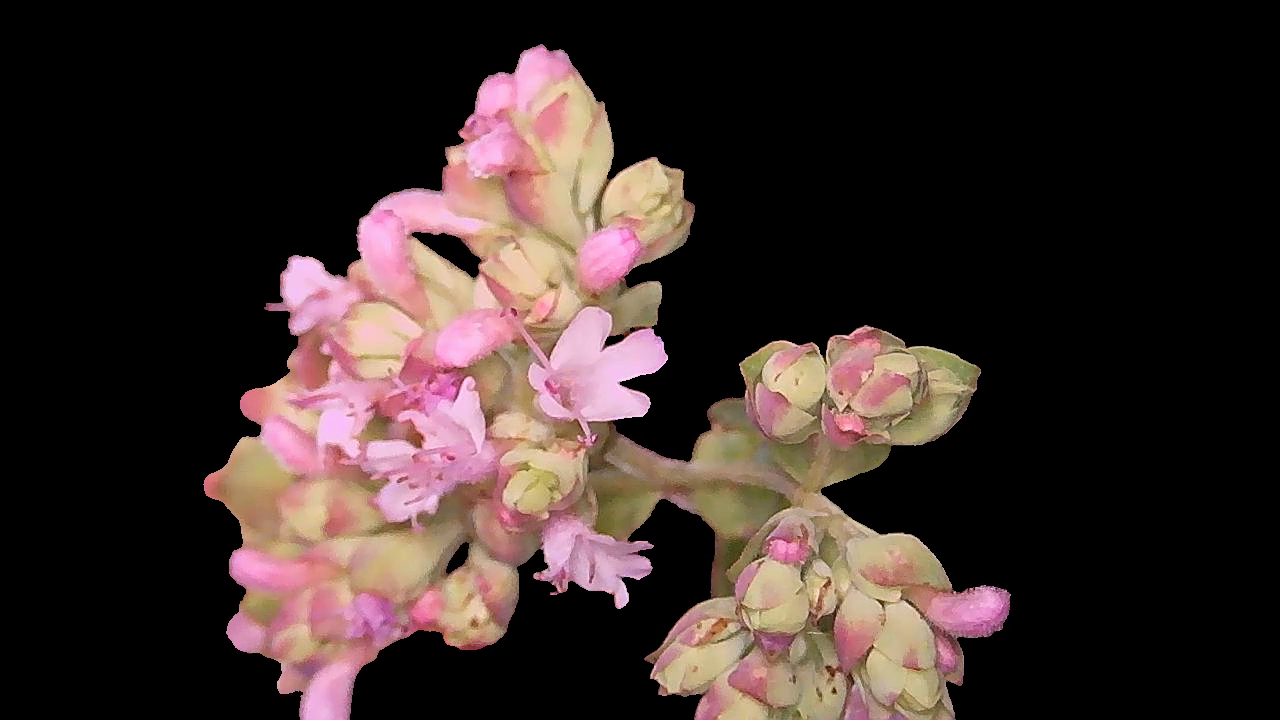
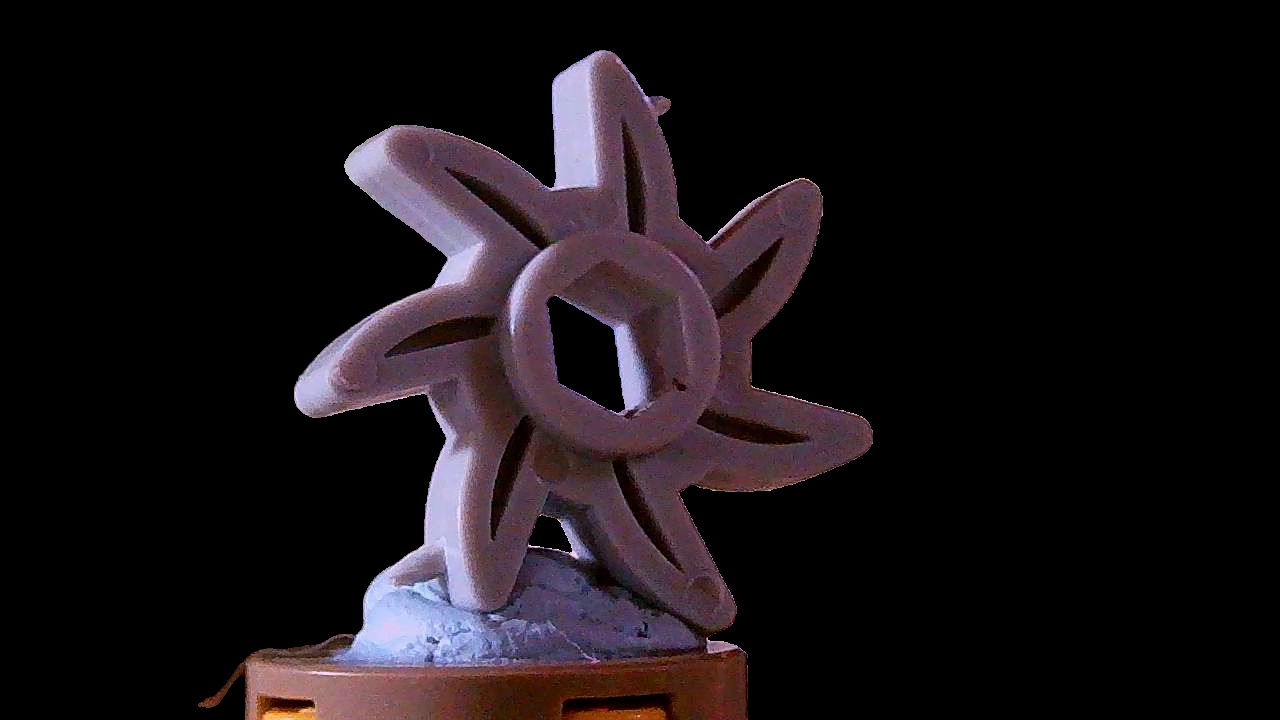
here are some images captured with the device, notice the typical ultra shallow DOF and what I believe to be the work of a software upscaler ; the patchy / blurry areas, like a median filter.
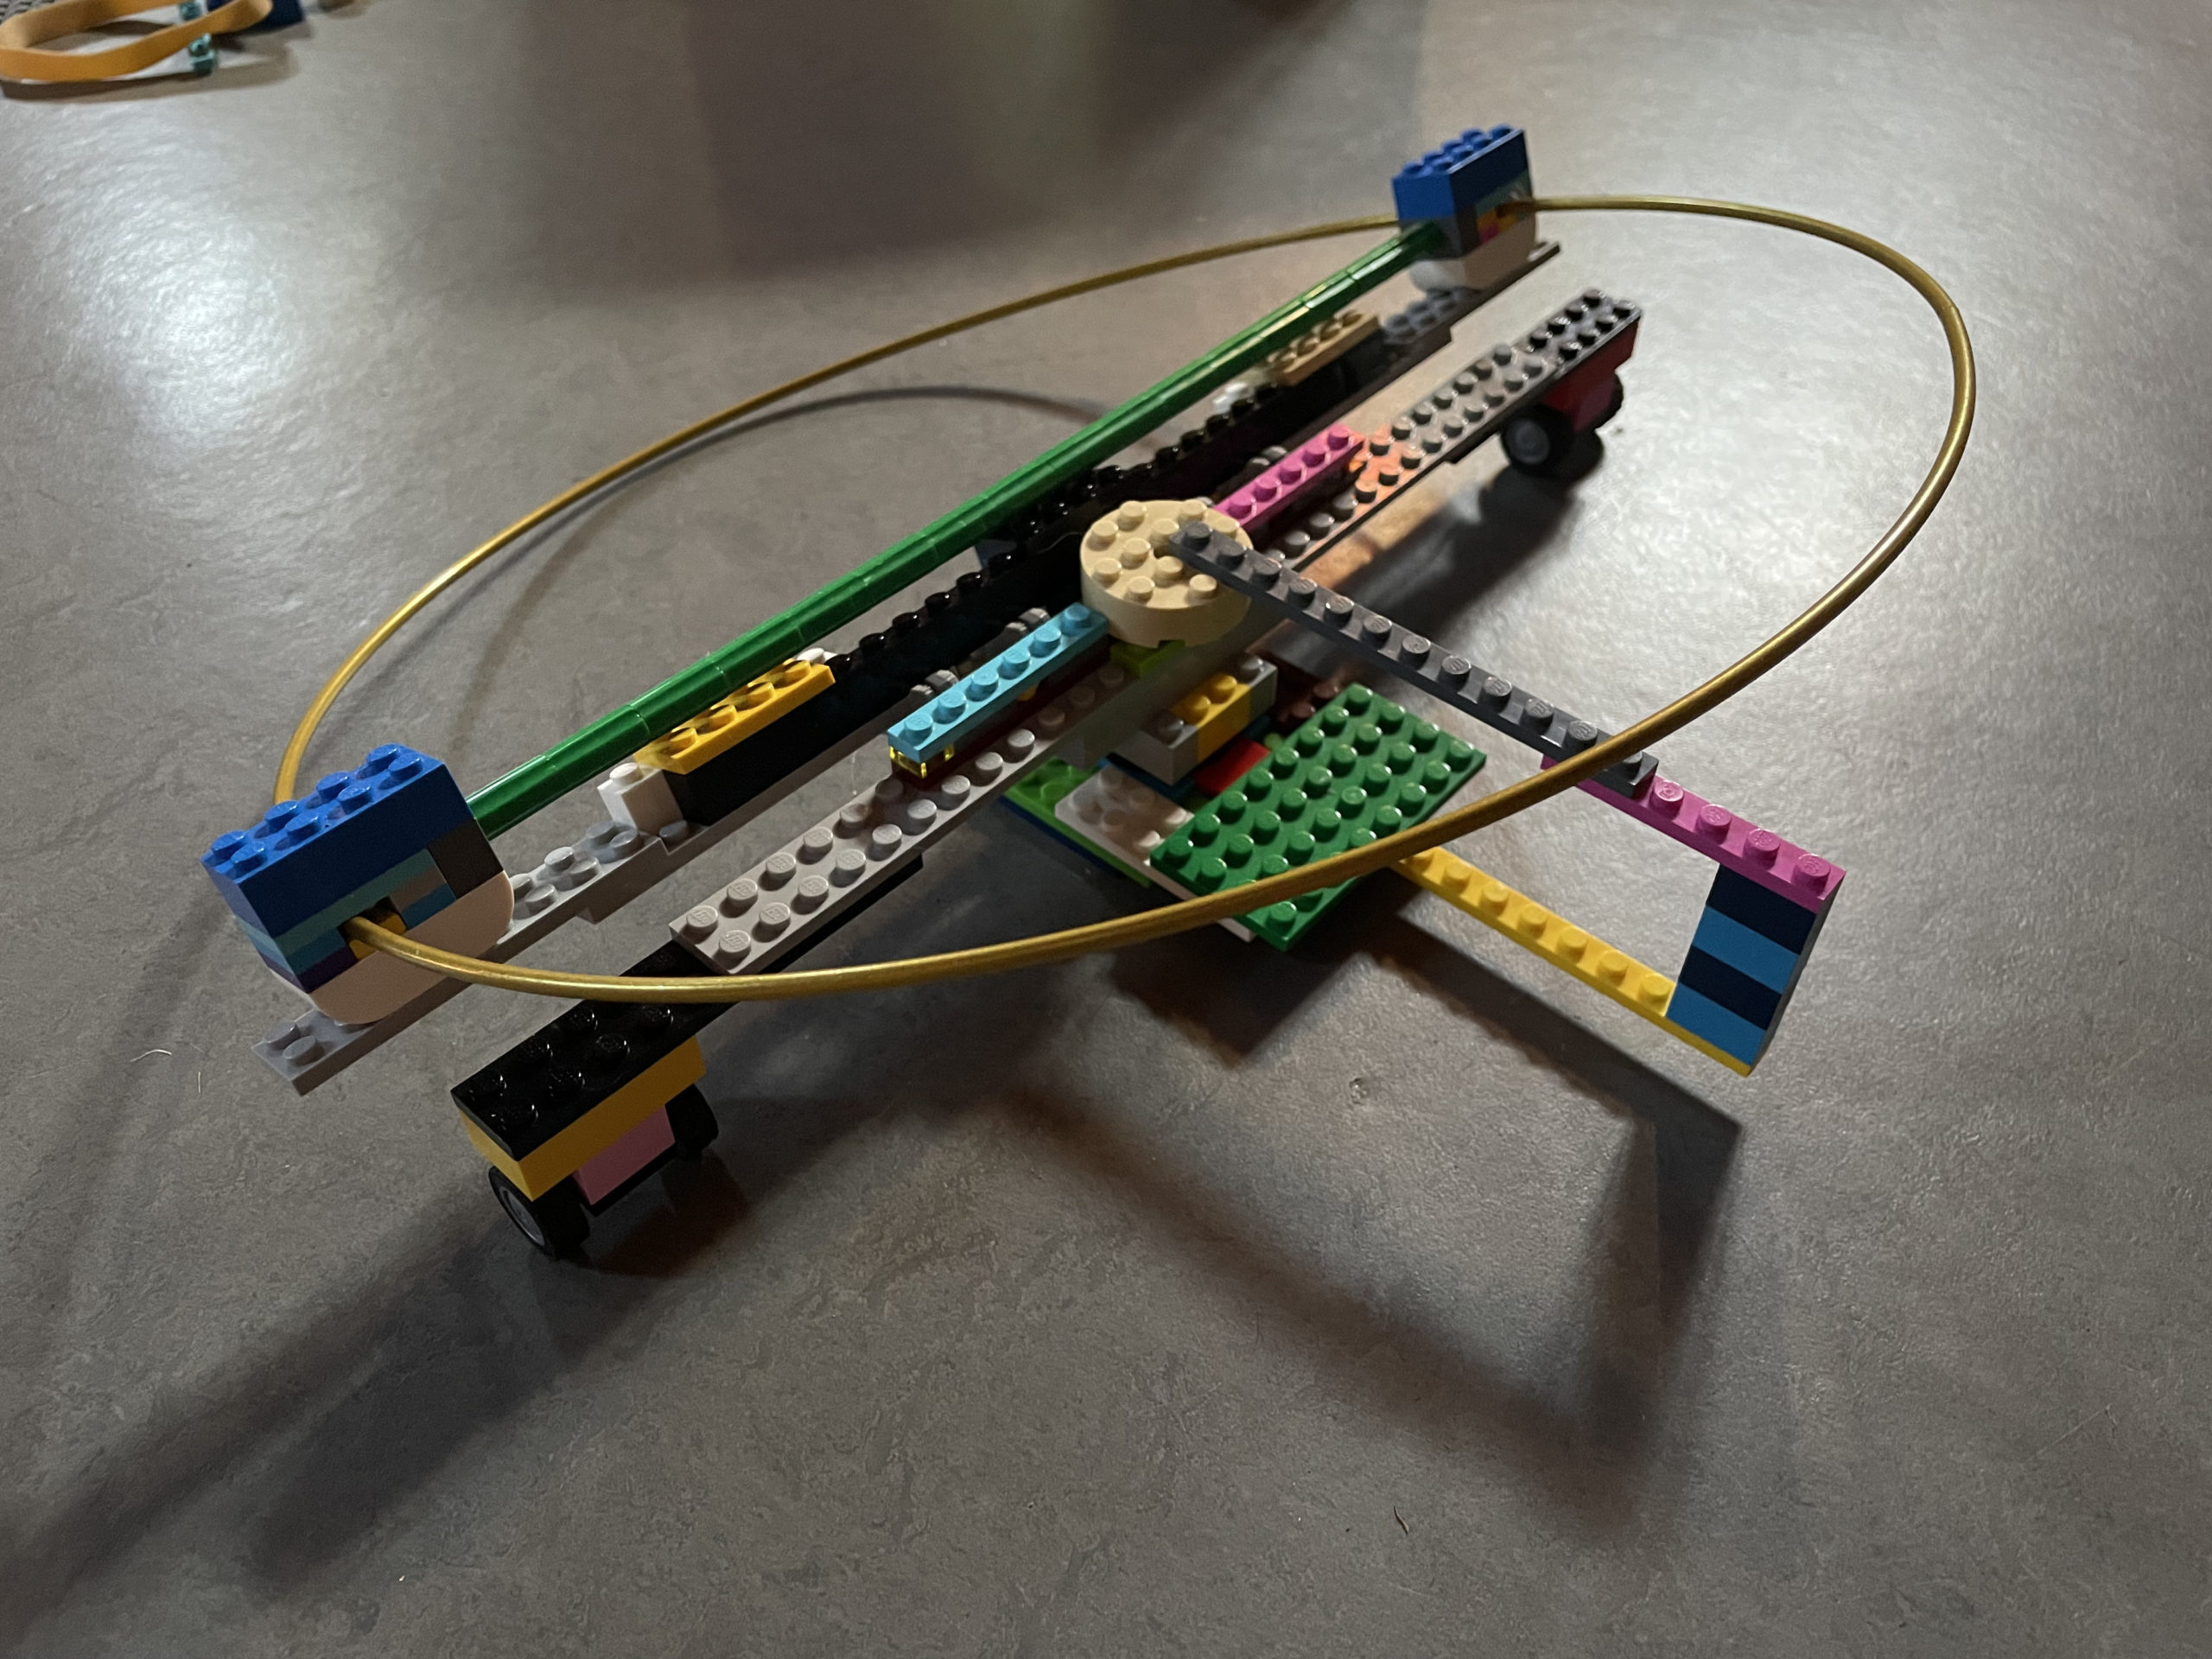
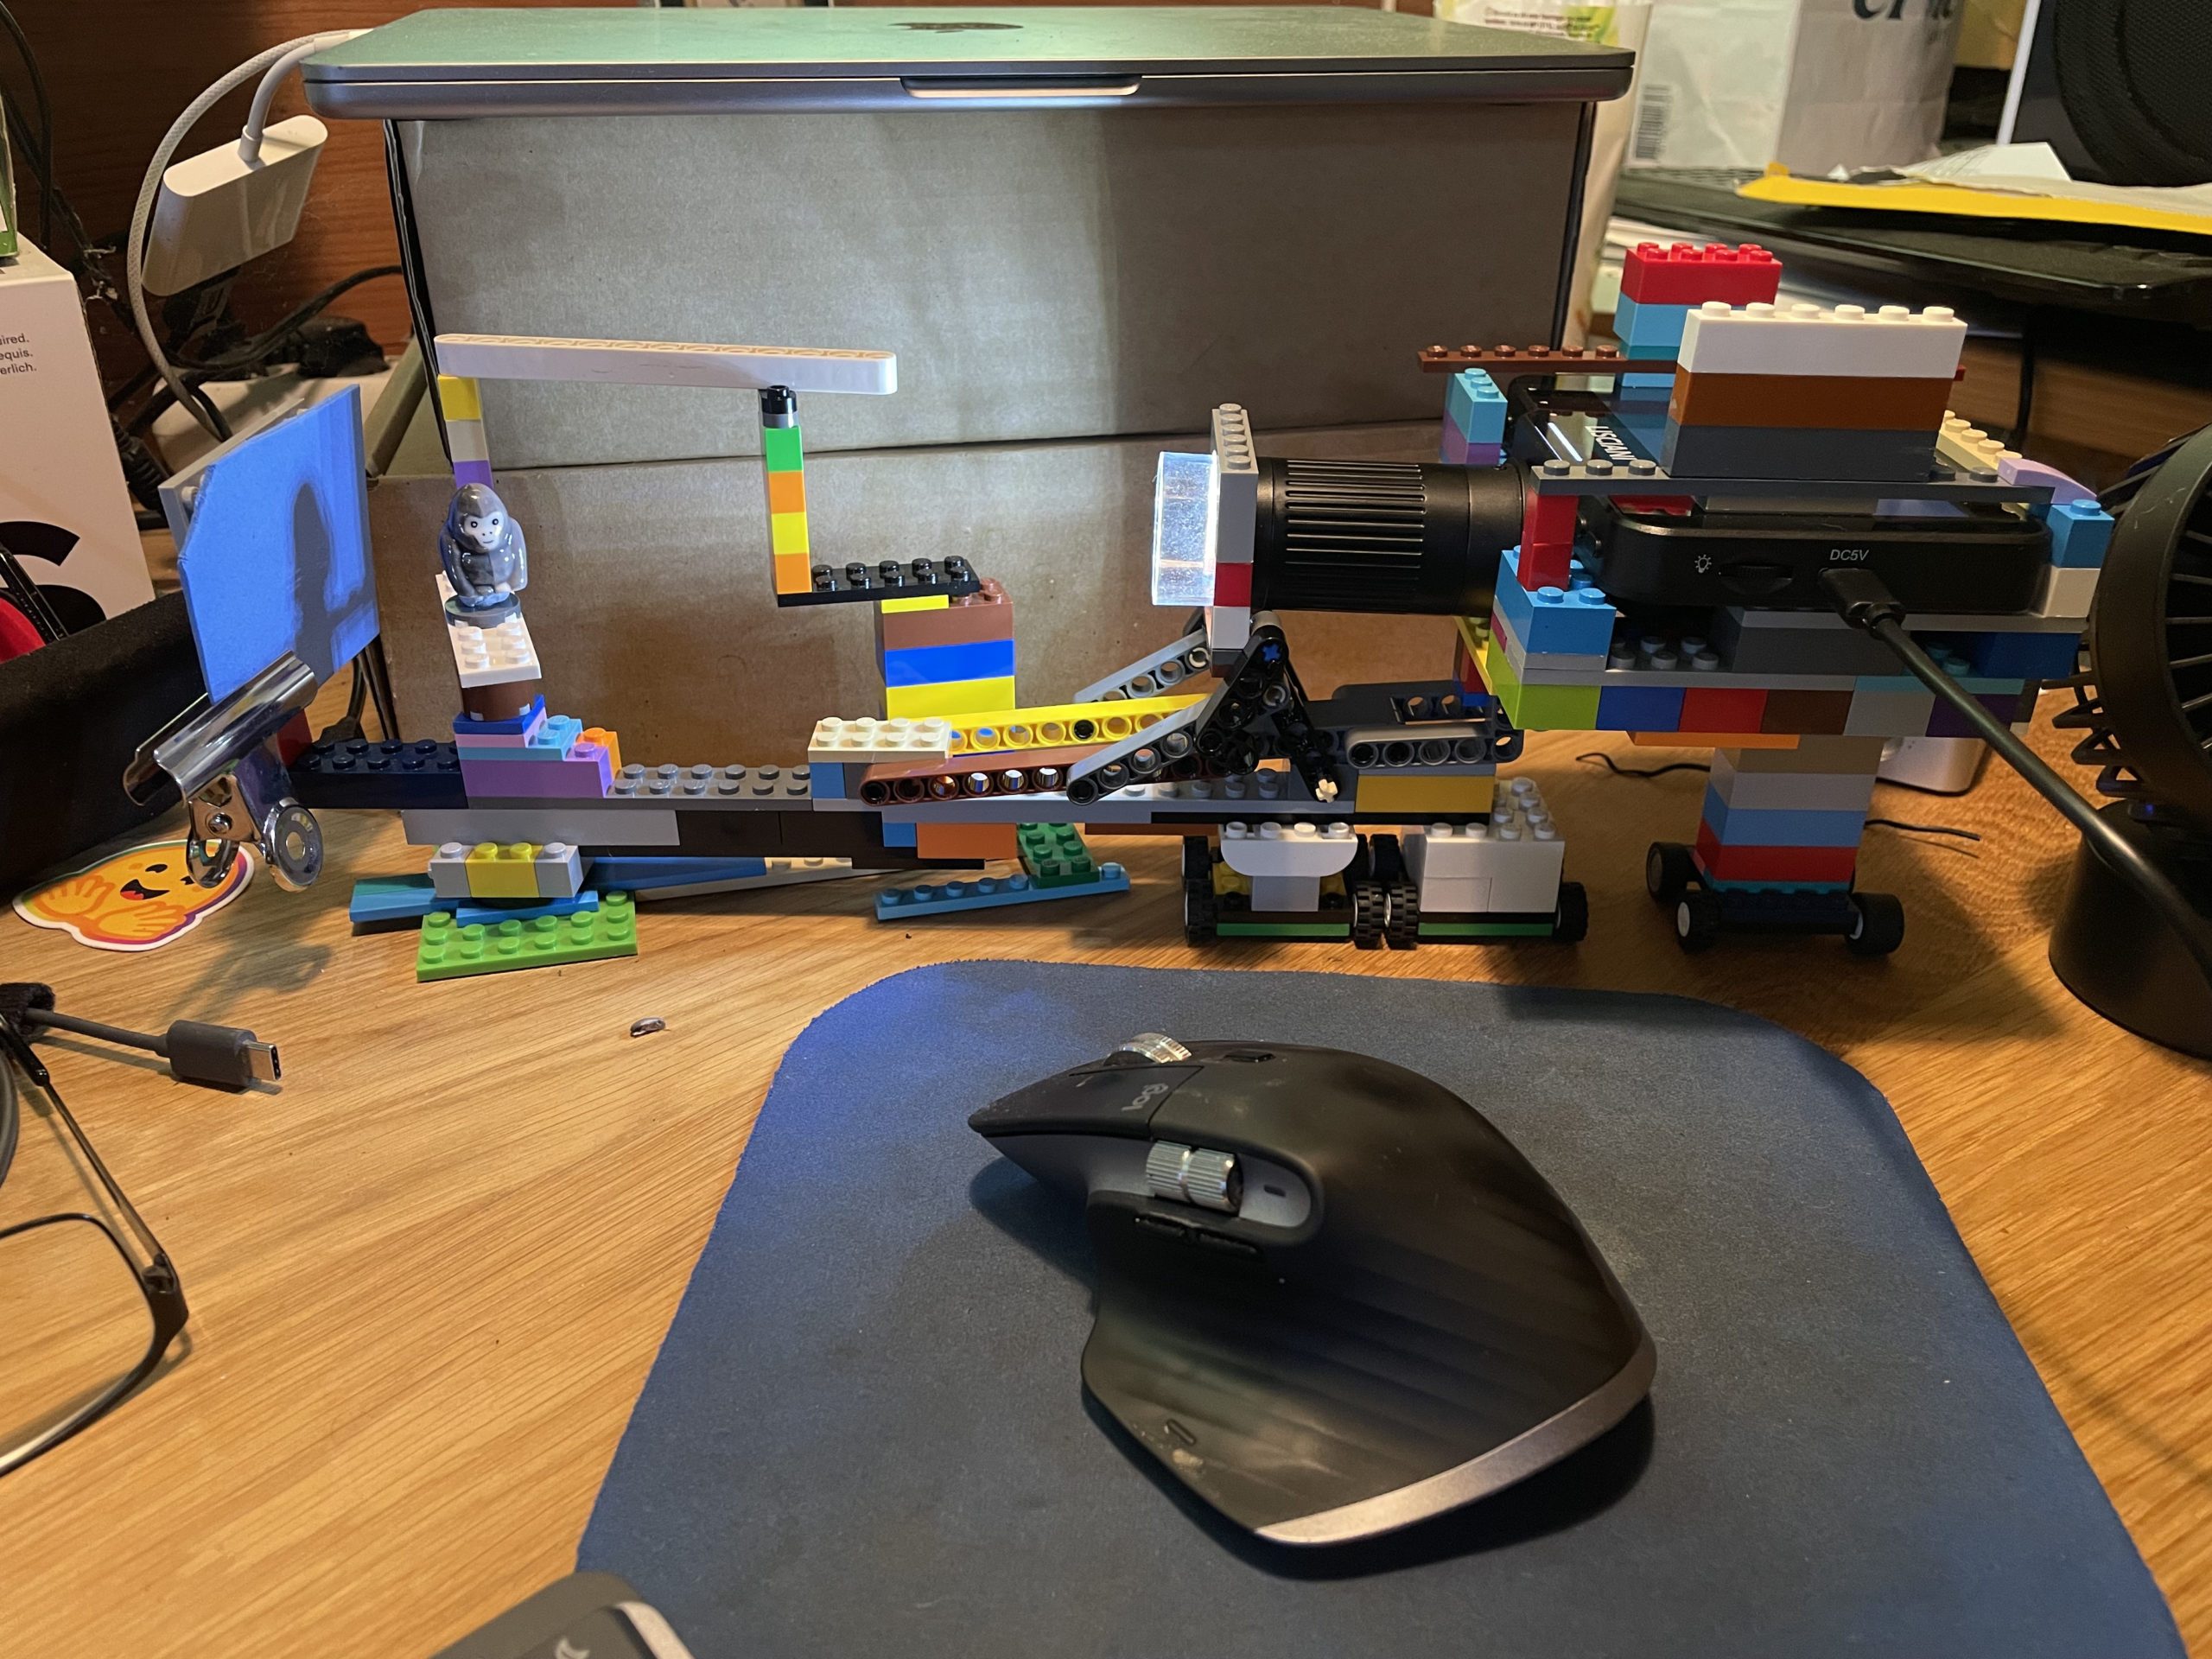
With this amazing piece of hardware, I got into the rig part and the only sensible approach was of course : LEGO! here are some tentative rigs:
this would theoretically be enough, the circle can rotate about it’s diameter, the camera would be tied to a little caret and move along half a disc.
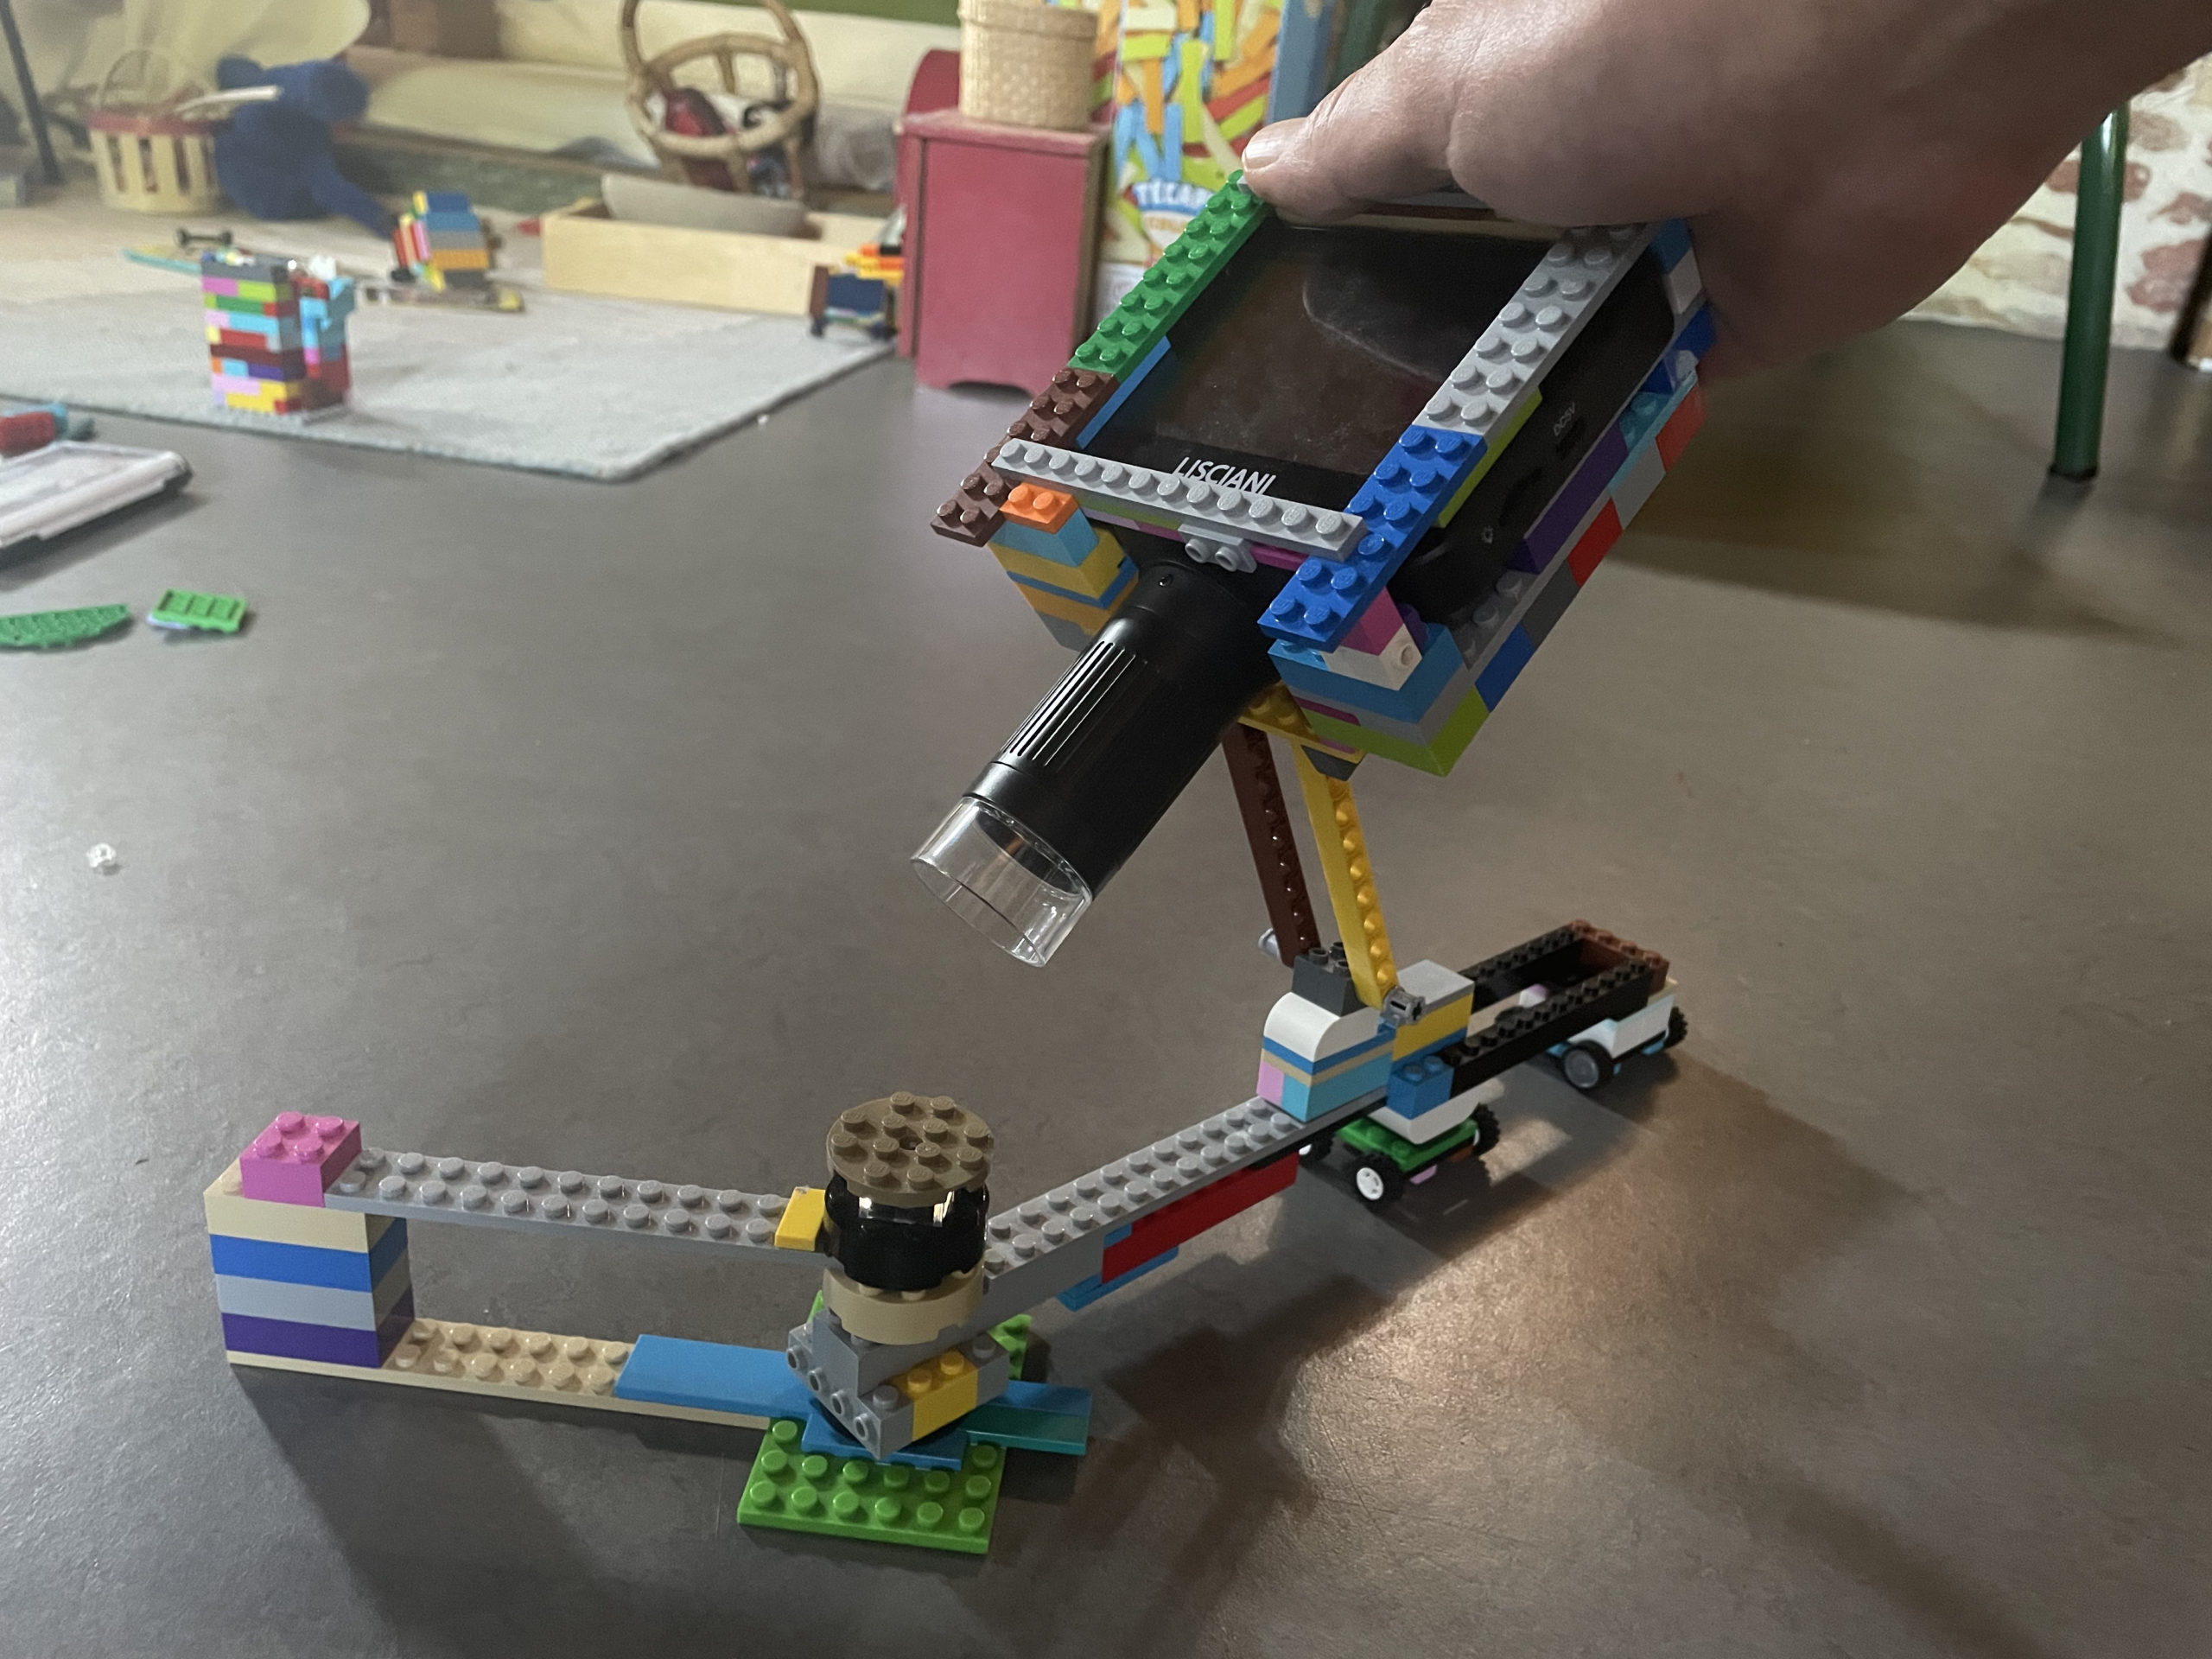
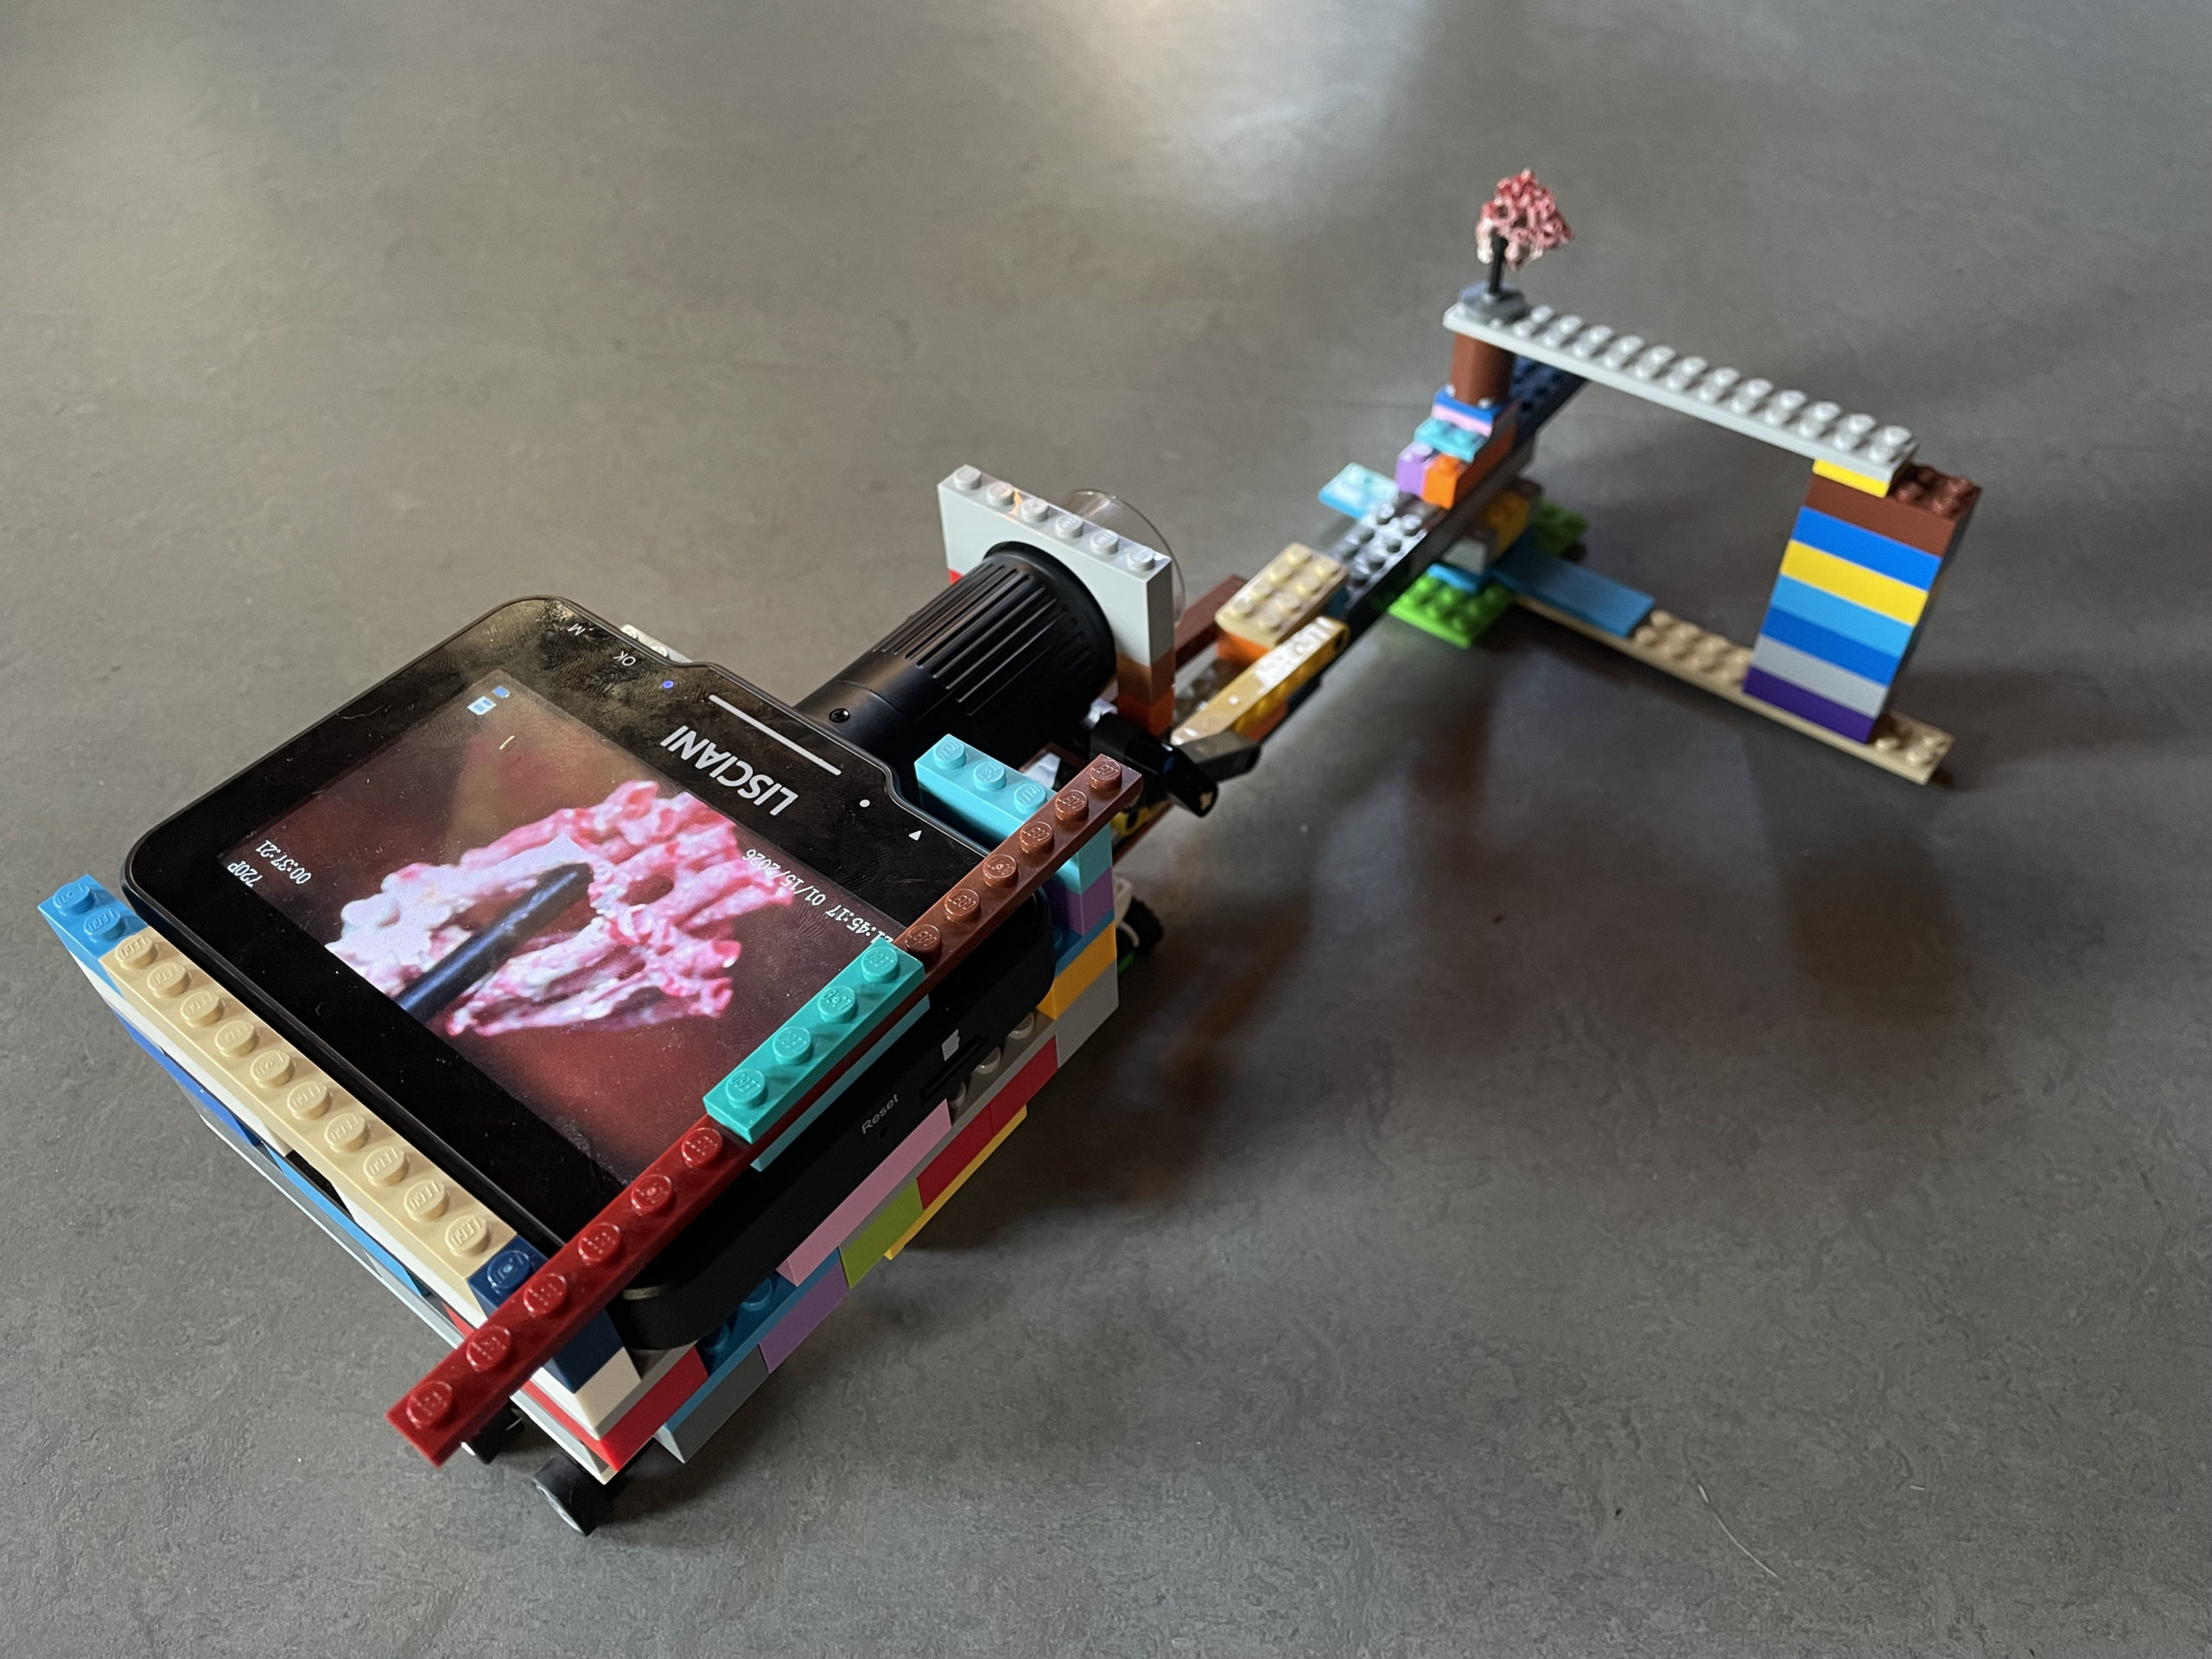
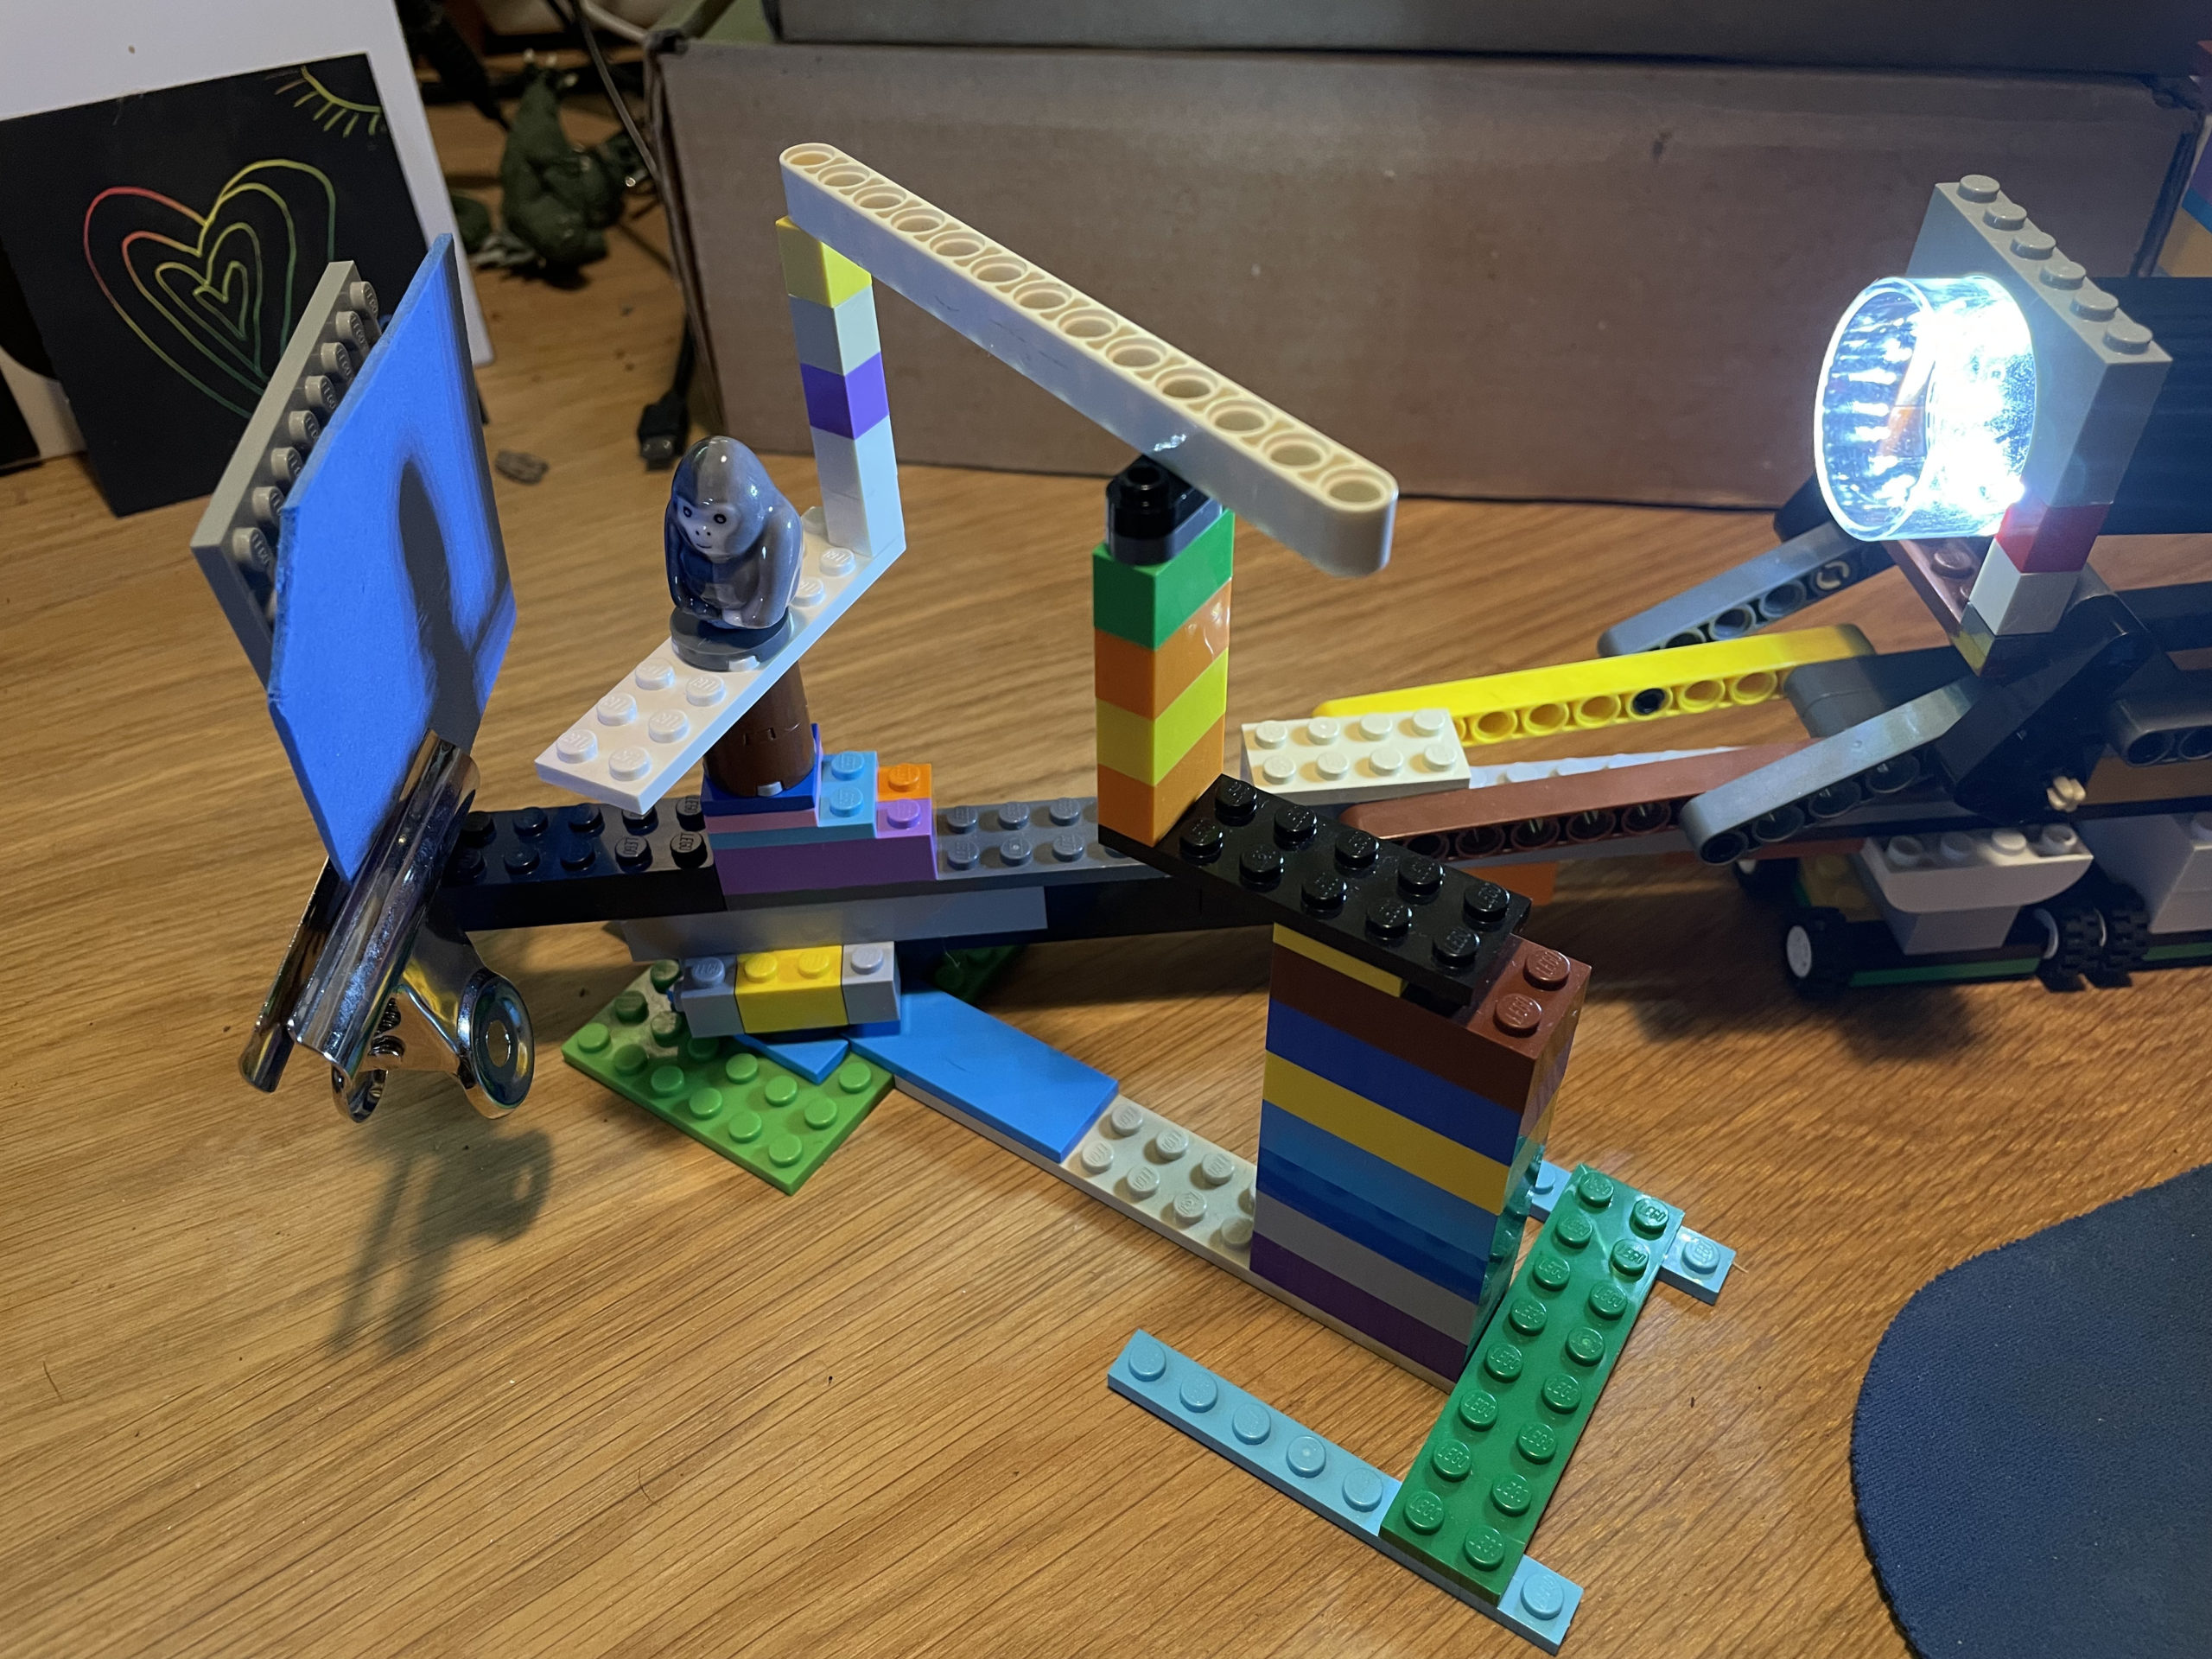
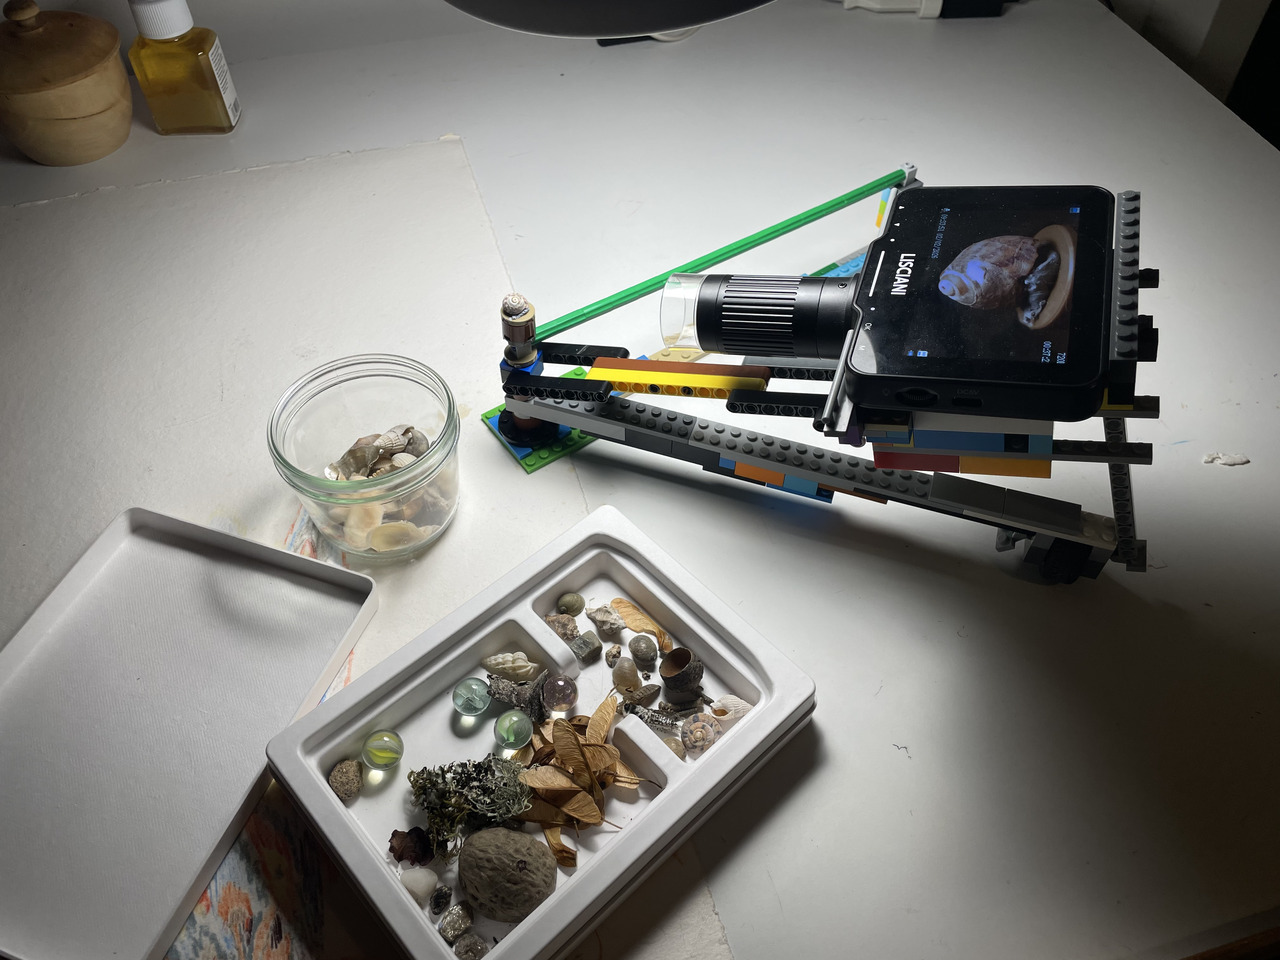
the microscope should rotate about the subject on a “dome” while maintaining the central platform steady. the camera could now move about the central axis and about the arm’s axis. after many unfruitful attempts, I got a first, somewhat usable, rig, behold!
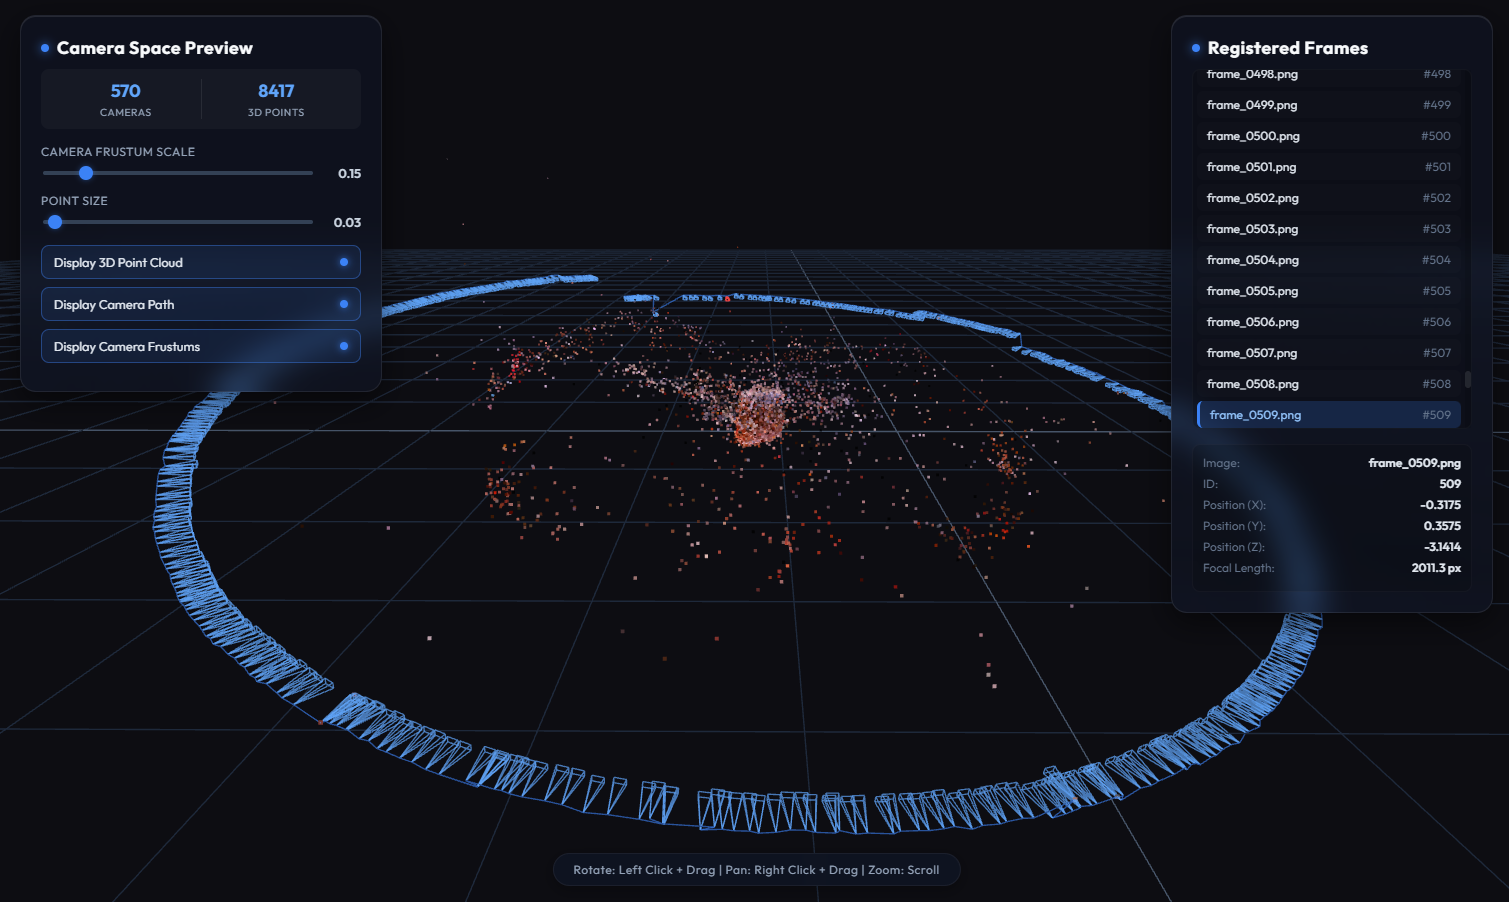
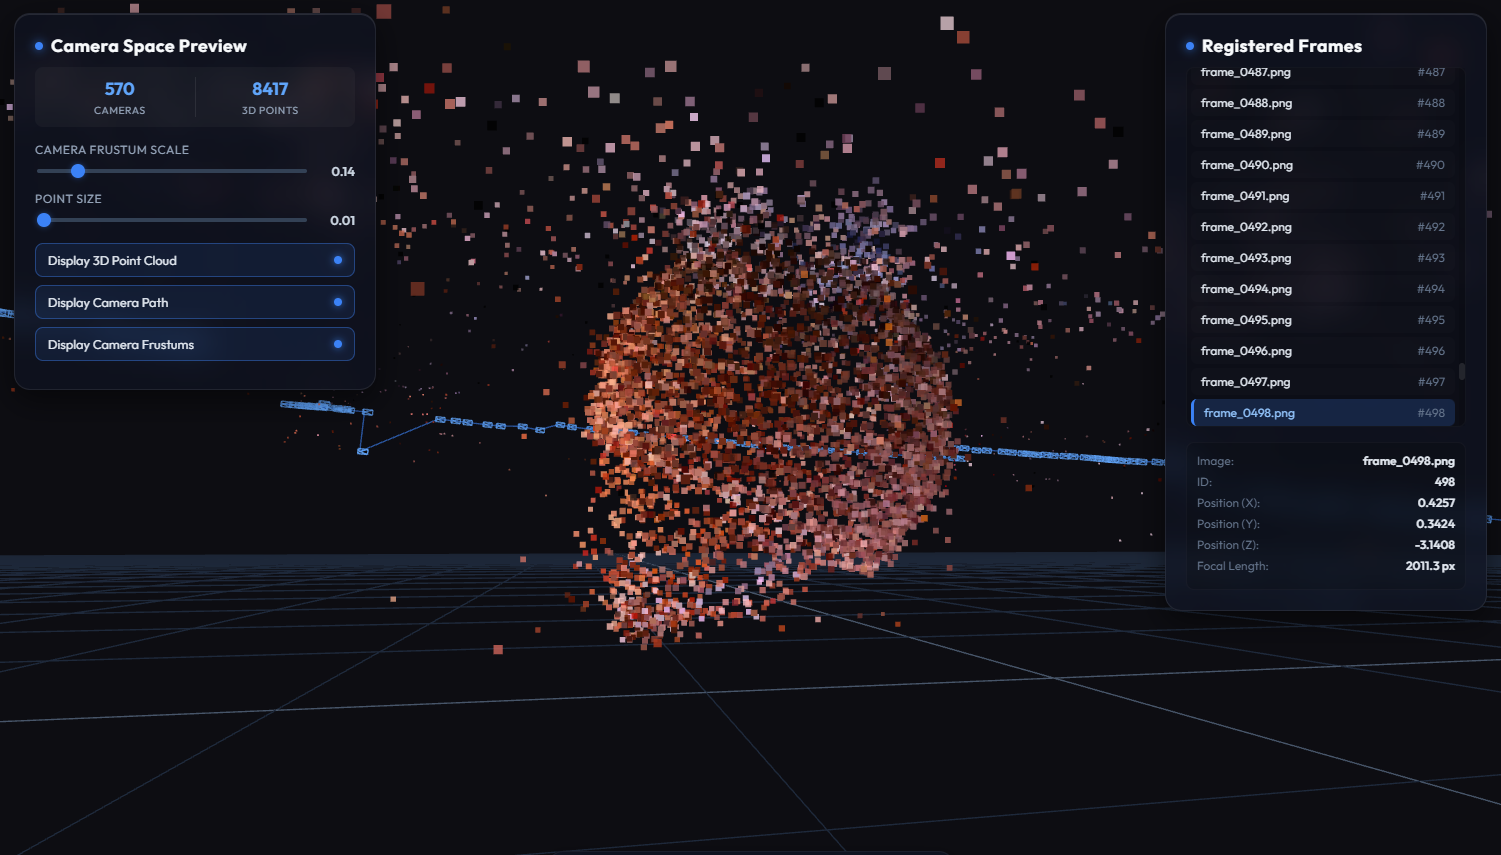
I captured some video sequences as a turntable (no top views), extracted ~300 images, used COLMAP and the mip-splatting model and got this first batch:
this was very encouraging, the scarab came out surprisingly well, the monopoly dog too, yet the marbles both failed. the first couldn’t calibrate, the second had refraction which is very hard if not impossible to scan (COLMAP freaks out as features move in opposite directions). here’s a live version to play with:
I changed the rig to try to have a static background behind the subject : here the blue sheet rotates with the camera while the subject (gorilla figure) remains static.
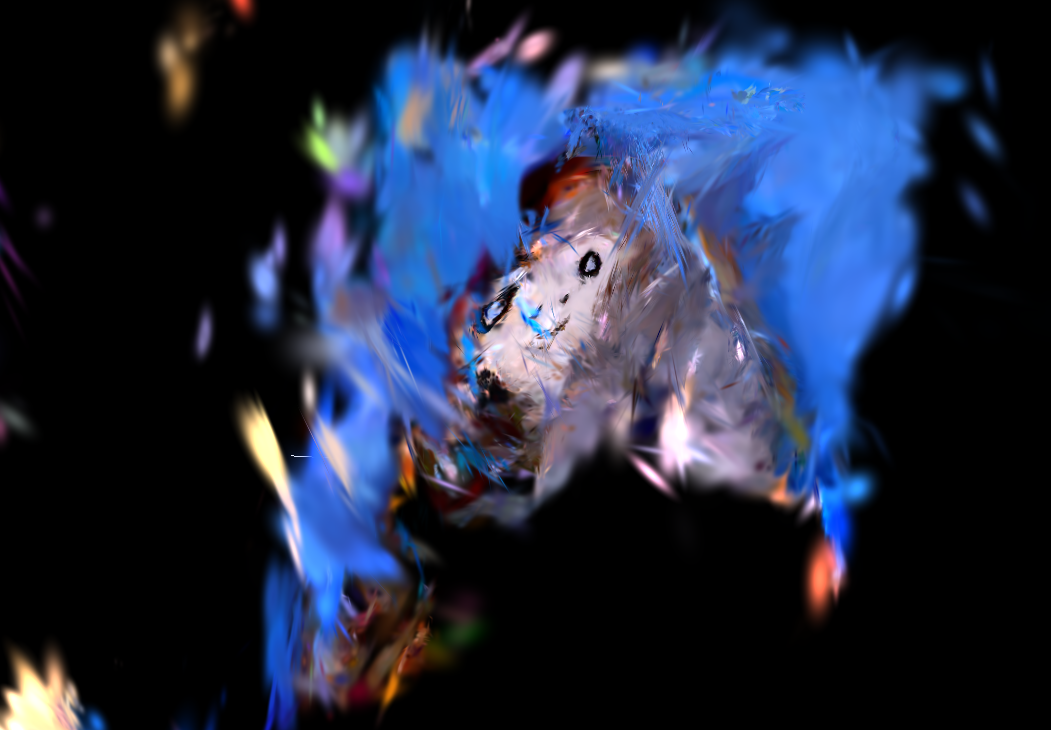
which produced this remarkably useless splat
this was in fact very silly, not only was the subject shiny (which is not ideal), but the uniform blue background was absolutely featureless and – had it worked – COLMAP would never have been able to calibrate because the subject would rotate above a static background which prevents the spatial anchoring…
Towards better results #1 denoising the input
I tried to improve the image quality using CV, first trying to get sharper images while reducing the noise in an attempt to blur the background while preserving the object’s details. here’s the result on the scarab frames
noisy
denoised
noisy
denoised
noisy
denoised
noisy
denoised
I ran an OpenCV Bilateral filters and parallel Non-Local Means on the GPU to smooth out the background grain while trying to preserve sharp details (you can see hairs, and dust in the smoothed images above).
Then of course, the calibration collapsed…
Denoising smoothed the background, but it also blurred the fine details too much. SIFT (Scale-Invariant Feature Transform) detectors rely on sharp (high-frequency) gradients to find interest points. The smoothed images lacked these sharp gradients. COLMAP’s Structure-from-Motion (SfM) mapper couldn’t find enough valid SIFTs to match across frames and Camera tracking failed almost completely.
this wasn’t completely useless though, using denoised images at Gaussian inference time improved the outcome, the above is an extreme denoise to emphasize the effect, I used a milder denoise level for the later tests.
#2 calibrating on sharper images
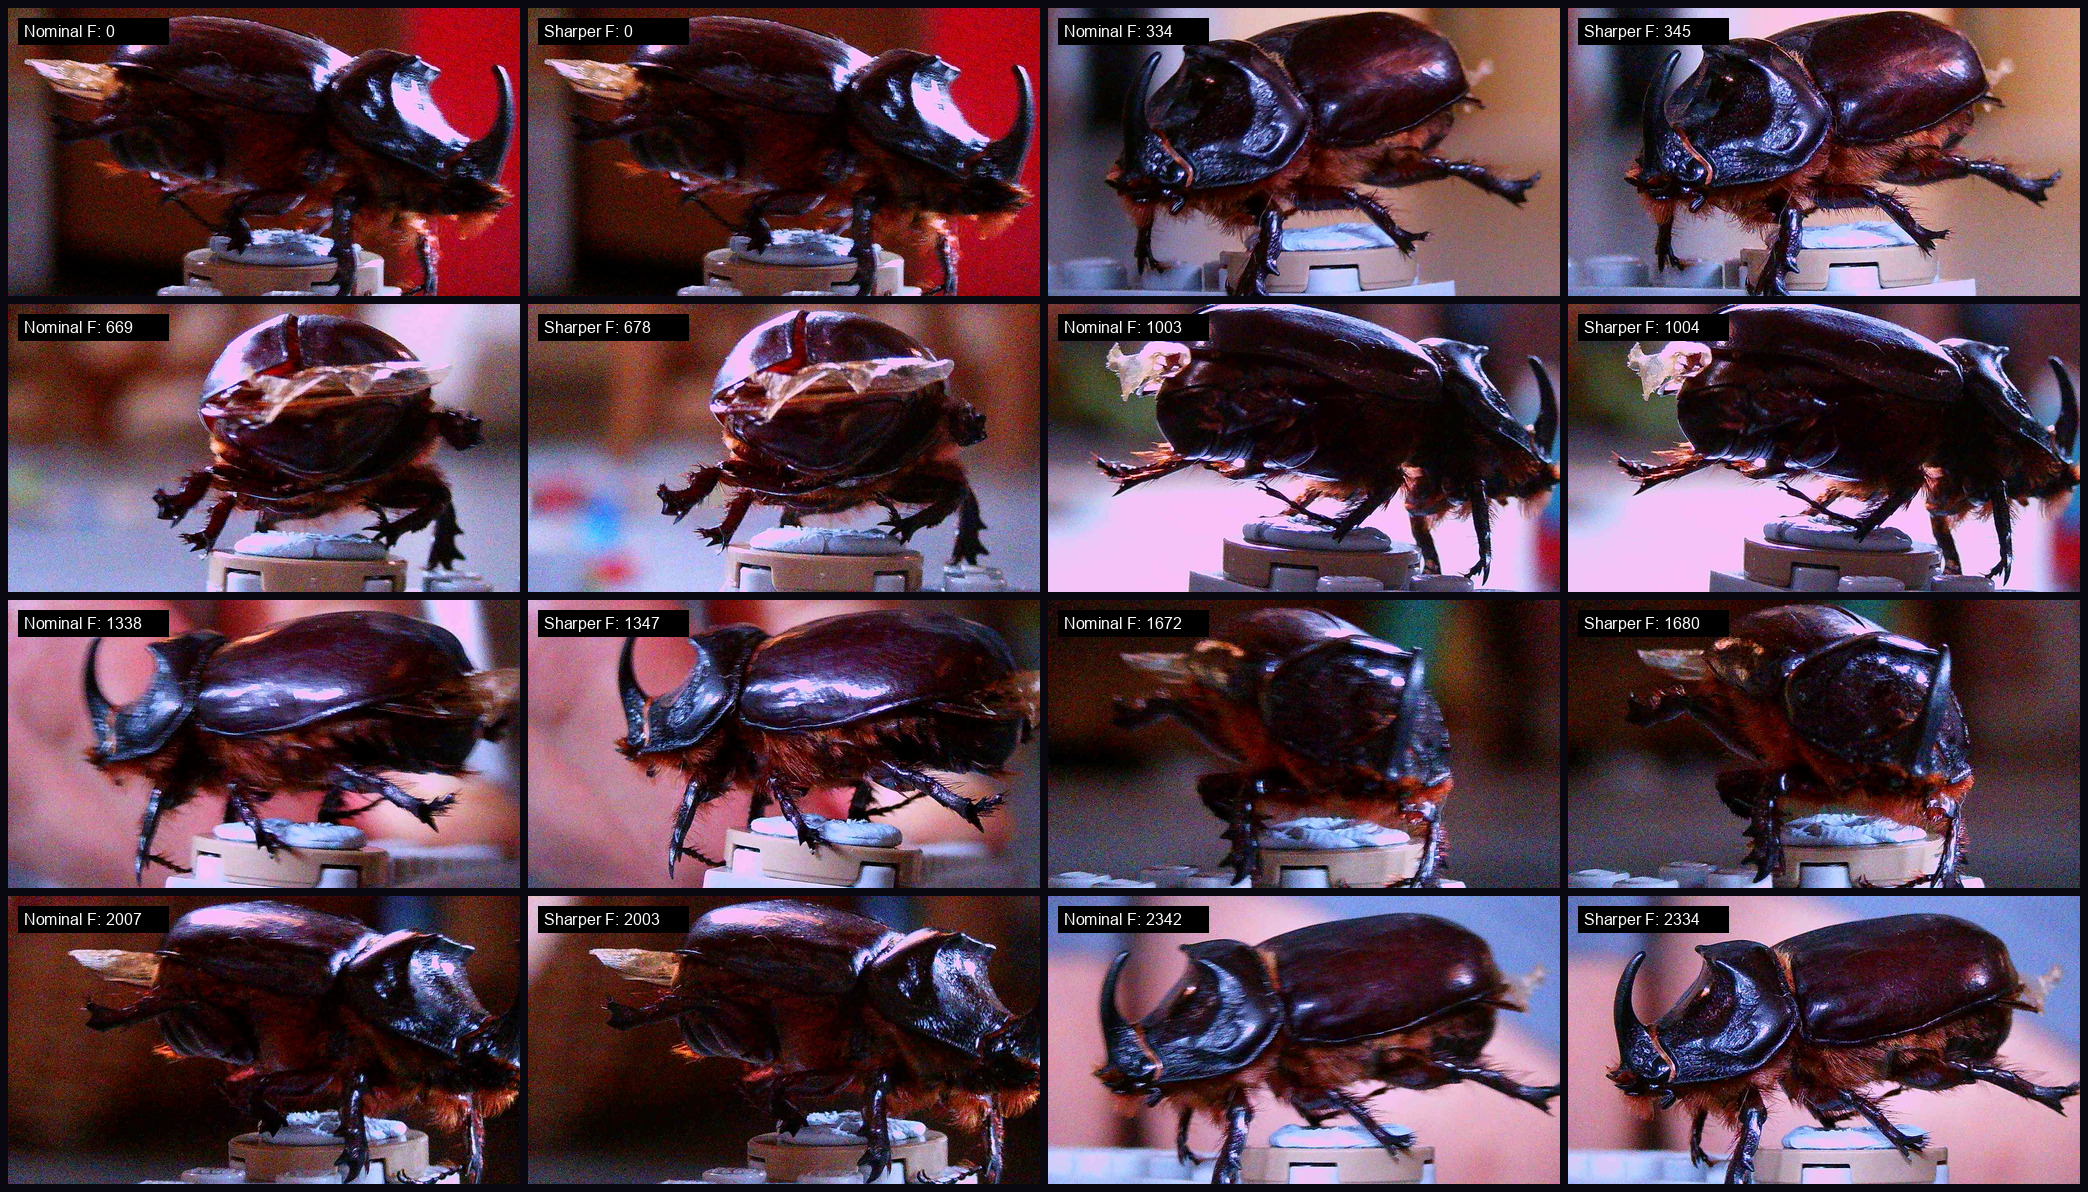
A second improvement was to pick the frames better at calibration time ; since the camera shakes a lot, there are many blurry frames so I used a “sharpness window” of 10 frames where I evaluate the Laplacian Variance to select the sharpest frame.
The Laplacian operator acts as a high-pass filter that detects edges in an image. By calculating the variance (spread) of these detected edges, we get a direct sharpness score:
Sharp Image (High Variance): Has crisp, high-contrast edges. The edge detector finds strong peaks, creating a wide spread of values (high variance).
Blurry Image (Low Variance): Edges are smoothed out. The edge detector finds almost nothing, creating a flat spread of values (low variance).
thanks, Google.
Here is an OpenCV snippet to calculate it:
1
2
3
4
5
6
import cv2
def get_sharpness(image_path):
#Load image ingrayscale
gray=cv2.imread(image_path,cv2.IMREAD_GRAYSCALE)
#Compute Laplacian andreturnvariance of the pixel values
returncv2.Laplacian(gray,cv2.CV_64F).var()
Looking ahead of the current frame to find the best candidate doesn’t always work but most of the time, it improves the result significantly. this is a comparison of the nominal frame (the frame extracted linearly along the video) VS the sharper frame with a 24 frames window.
#3 conditioning the calibration
The biggest challenge of the project was to get a consistent calibration (cameras registration). The problem here is that microscopes have a very shallow Depth Of Field and can only focus on a paper thin layer of the object, the rest is blurry (and in my case, noisy).
Blurry images produce few SIFTs and COLMAP fails to map these features from frame to frame to register the cameras positions in space. The first idea was to increase the frame count from 300 to a 1000 (max), picked evenly across the video length. But since I work on a circular path, I believed I could leverage that. Gemini suggested to force a circular camera prior, in its words:
constrain the search space instead of letting COLMAP resolve camera poses from scratch (which fails on feature-light rotating objects), we pre-calculated the trajectory:
Angle Mapping: Since the turntable rotates at a constant speed, we mapped each frame ii to a specific angle θi=i⋅360∘Nθi=i⋅N360∘ (where NN is the total number of frames in the sweep).
Trajectory Coordinates: We positioned the cameras on a circular track of radius RR at height HH, pointing towards the central specimen at (0,0,0)(0,0,0): Xi=Rcos(θi),Yi=Rsin(θi),Zi=HXi=Rcos(θi),Yi=Rsin(θi),Zi=H We then derived the quaternions (QQ) and translations (TT) that orient the optical axis of each camera directly toward the origin.
COLMAP Seeding: We wrote these positions into mock COLMAP files (cameras.txt, images.txt) to define the initial camera track. We imported this model and ran colmap point_triangulator using SIFT matches to build the point cloud, followed by a constrained colmap bundle_adjuster to refine positions without losing the loop constraint.
an acorn calibrated using a circular camera prior, it’s upside down but we can clearly “read” the shape. From this moment on, the calibration basically worked except with some very bad lighting conditions.
here’s the scarab, with a forced circular path (still a turntable 2D input)
#4 MASKS!
it gave pretty neat results already yet it needed lots of manual cleanup and I thought there should be a way around manual cleaning, then I discovered about a little known COLMAP feature : MASKS! so, along with the image, you can pass a mask to help the calibration by removing unwanted SIFTs, holy shit! we had the Laplacian Variance evaluation method in place so it was trivial to create a filter to get a mask that preserved the high variance (sharp subject) and discarded the low variance (blurry background), in OPENCV it goes like :
this helped tremendously ! here’s a live, raw splat of the dandelion:
note that the source footage is still a turntable : only a circular path so lots of details go missing as we move up and down, moreover, my rig doesn’t allow for a full 360° path : we need to account of the “stick” that holds the plate steady while the camera rotates around the subjects which leaves a ~20° unexplored angle at the back of the subject. Yet, the process was in place, and worked pretty well :)
To make the masks more robust, I switched to Video-Depth-Anything to extract temporally consistent depth maps of the subject. I got the masks by thresholding these depth maps and applying morphological closing, this improved the masks quality further.
#5 Focus Stacking?
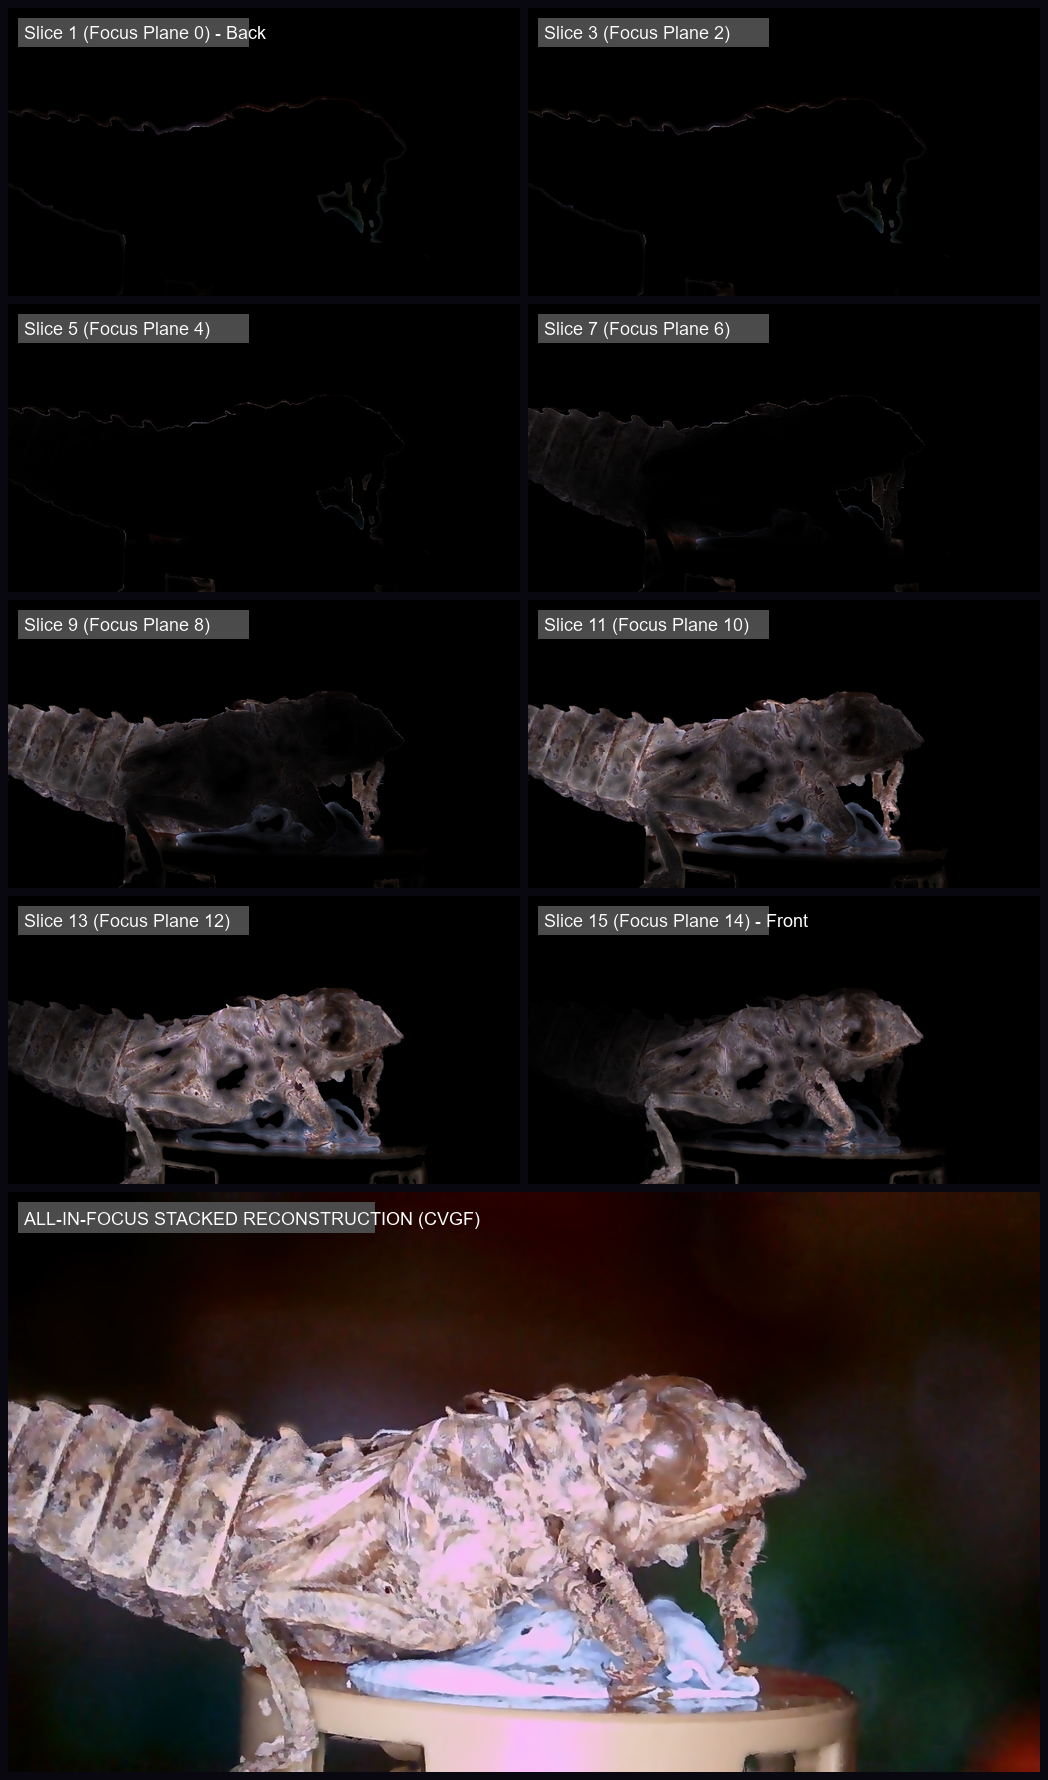
The last missing piece to get extra detailed, All In Focus (AIF) images is called focus stacking. This is the holy grail in this scenario, it consists in merging the focused parts of a set of images to get a single, crispy clear and high definition image for each view. Since there’s not really a canonical way to solve this, t’s usually a semi supervised or fully manual process. it requires a very precise setup, and ways to control the depth mechanically, this was way beyond what my brittle setup was meant to do.
wait, does it mean it’s impossible? NONSENSE!
Since I had the video depth and a means to compute the variance & with the help of Gemini, I made a data-structure between a 3D texture and a 2D threshold, probably easier to understand with an example. Say you have a footage like this:
the algo will combine depths and variance to pick the best of each frame and give you the image at the bottom.
NB: white balance killed this one but it shows the concept
and here’s the process where the top video is the input footage and image at the bottom gradually reaches the AIF state:
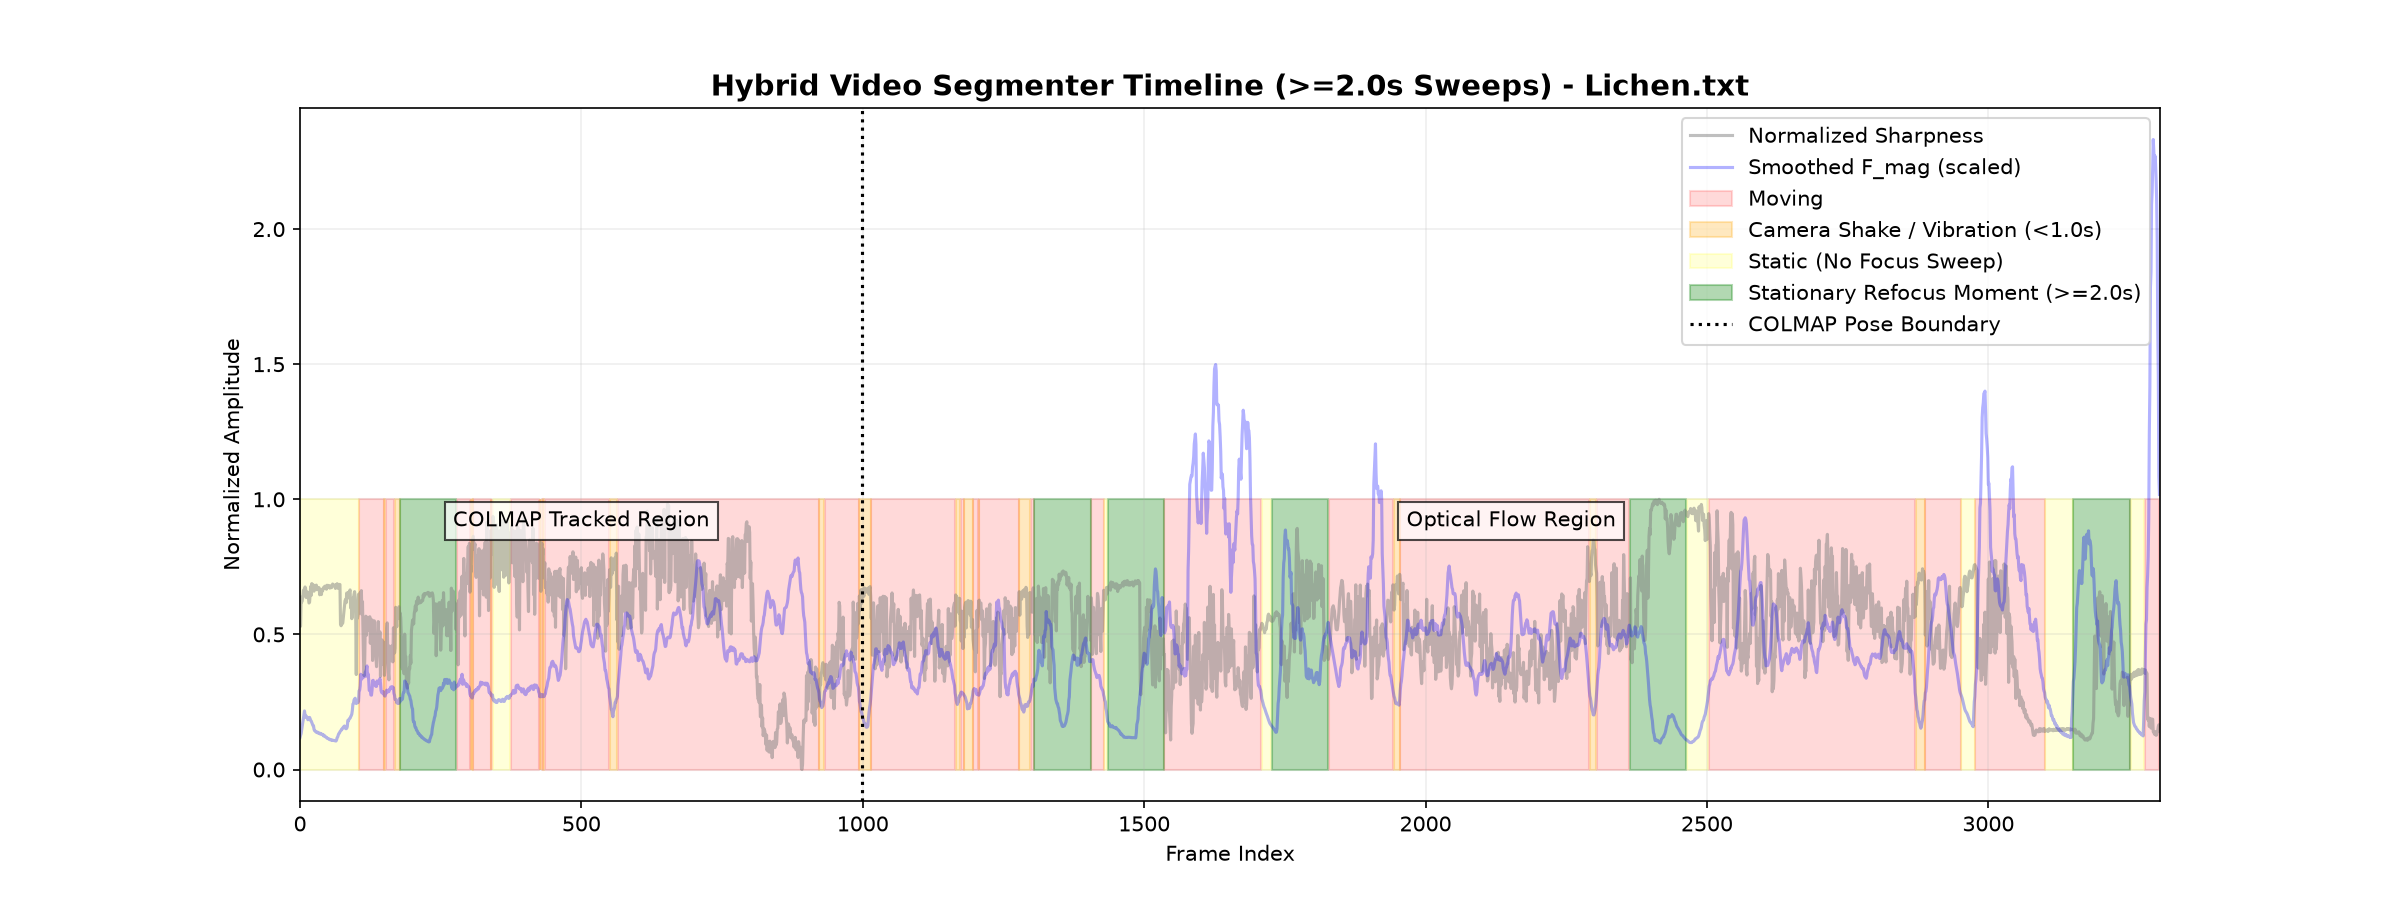
I’m not using it in my final examples, like I said this would work with a more serious setup, I had to perform some video optical flow combined to the camera registrations to determine the moments where the camera stops moving and use those as the “defocusing” times… that was ridiculous but worth a shot.
closing thoughts
I don’t think I reached my goal – being Dany Bittel – but I got close enough. Anyways, it was tons of fun to do and I learnt a lot about gaussians and micro photography, all well worth it. I liked using a brittle and limited hardware, it broke many a time during the captures, tiny changes were painstaking and bore disastrous consequences but I made the most of it :)
I also tried to capture transparent objects ( marbles ) by inferring normals and inverting the refraction with a very limited success, I’m also thinking of a weird rig that would orbit at 360° on all axes, probably a silly idea.
here are some of the most successful splats came up with:
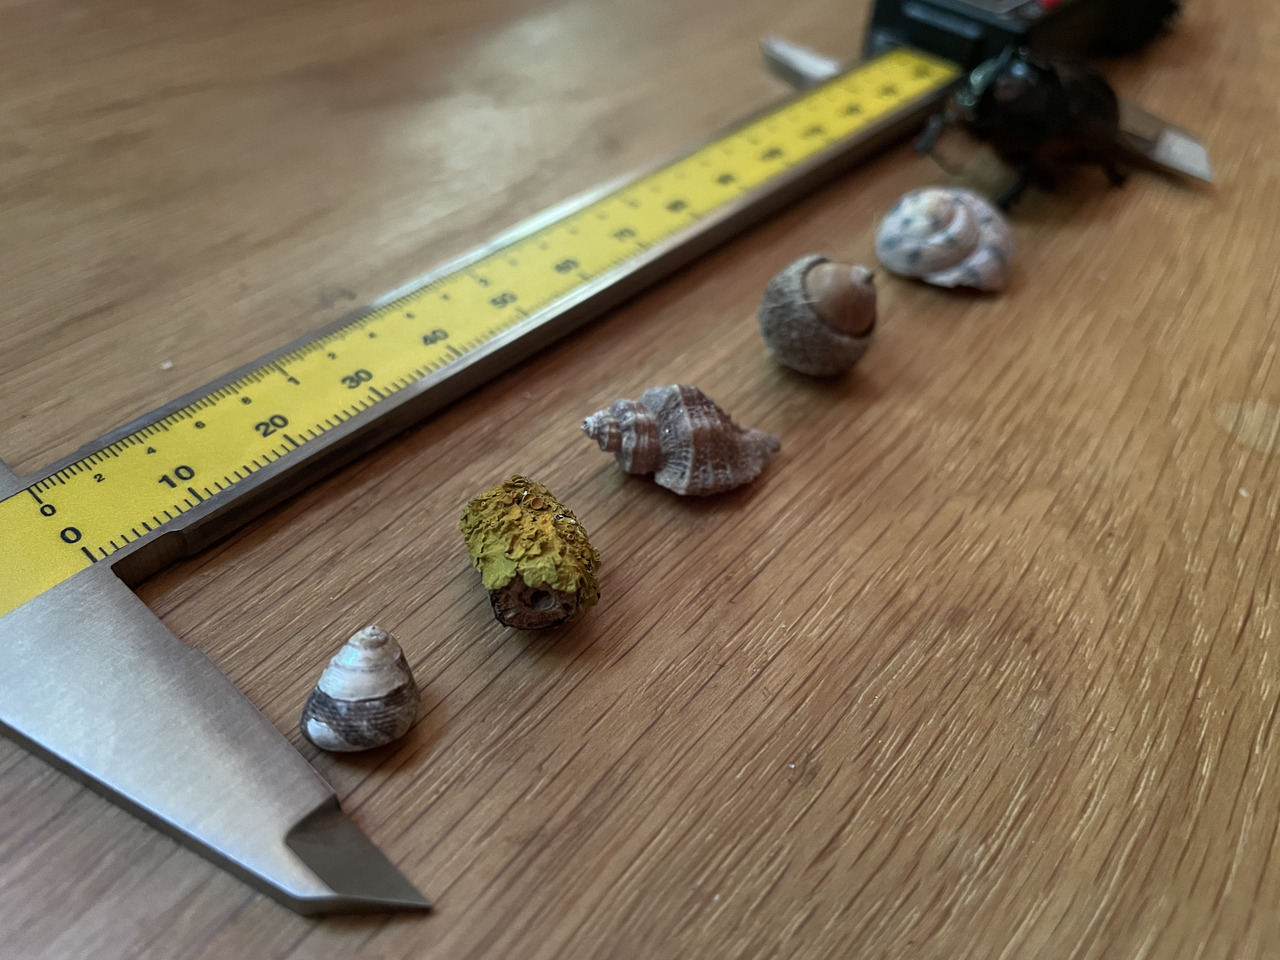
here’s the final rig and the assets used for the tests to give a sense of scale.