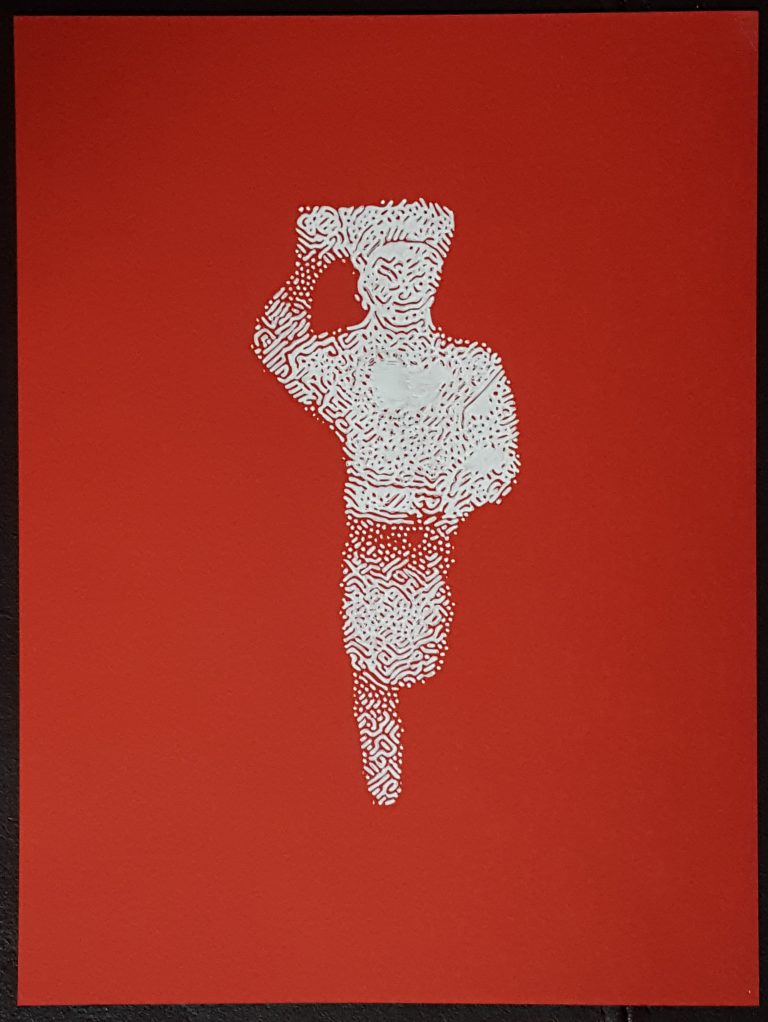
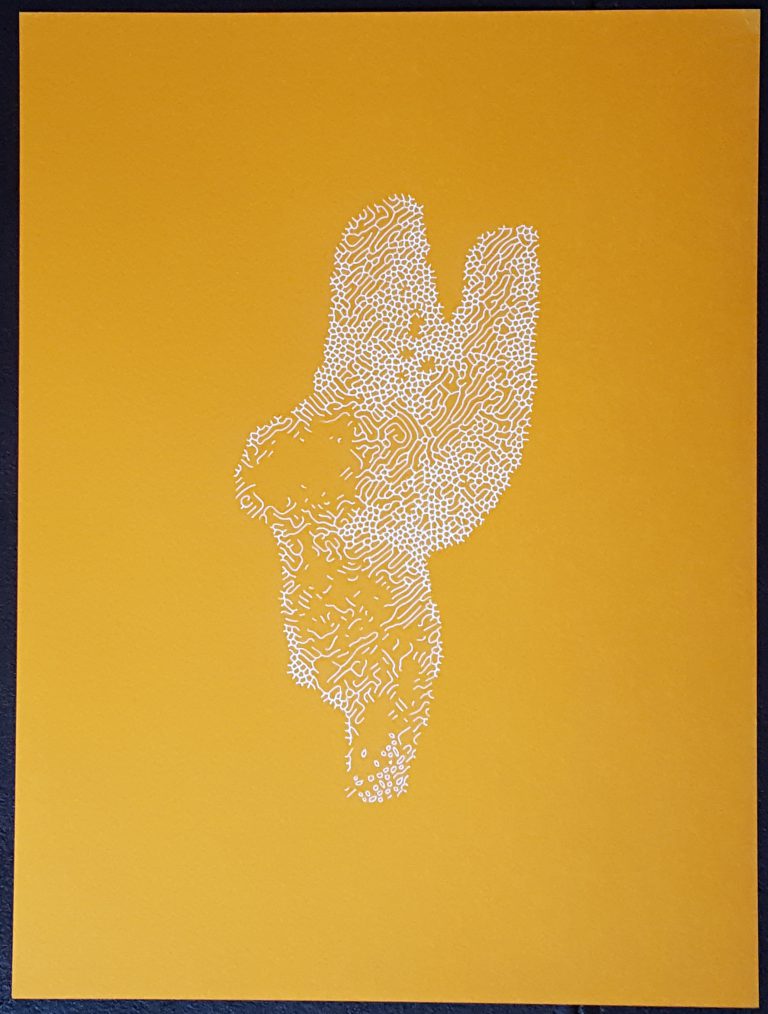
this post explains how I produced the following series of images:
all the images are based on photos from Archive.org.
I didn’t have anything special in mind, I just found these objects moving ; they were like action figures from long ago. the statues are quite small too, the printed version is roughly their actual size, small things are cute.
I wanted to find a way to generate non photorealistic versions of these pictures, I started describing the process here ; in a nutshell:
extract the saliency > dithering (Floyd Steinberg) > reaction diffusion > component labelling & vectorisation.
the images are pre-processed through Ubernet, computed in javascript then post-processed with Potrace and illustator.
Saliency Map
my plan was to use the visual salience of the images to drive the generation and distribution of points then try to find something different from the (overused) delaunay triangulation / voronoi diagram. first I used MatLab to compute a saliency map using this add-on.
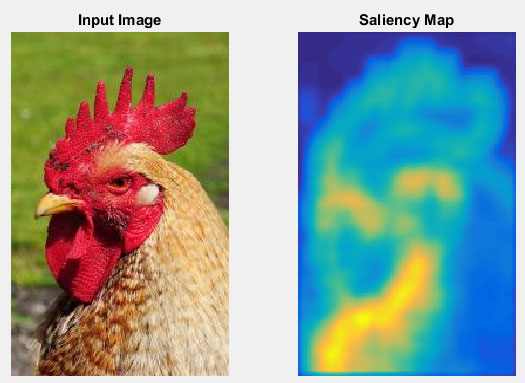
matlab saliency map
it worked ; the yellow areas of the saliency map are the “most interesting parts” of the picture, distributing more points there is trivial but the map was a bit too far from the actuual morphology of the object ; here for instance it would give a great weight to the neck, the beak and the eye completely ignoring the cockscomb (funny word).
then I vaguely remembered Ubernet by Iasonas Kokkinos (pdf), that produces this kind of images:
Ubernet is a
`Universal’ Convolutional Neural Network for Low-, Mid-, and High-Level Vision using Diverse Datasets and Limited Memory.
which I read bluntly as
a magic tool that does exactly what you want.
now just look at the saliency map! that’s exactly what I was after and the code was made available as an online API http://cvn.ecp.fr/ubernet/ :)
here’s the same picture’s saliency map computed with Ubernet:
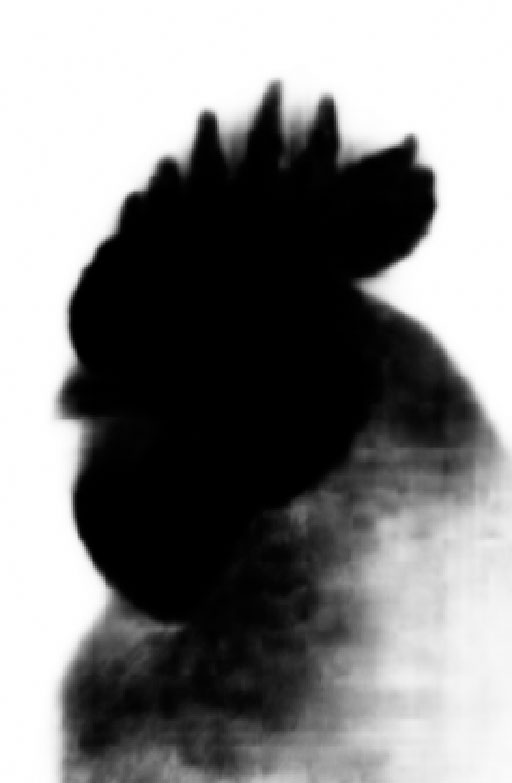
this was better suited to my needs, I used the online API to spit saliency maps & edges maps (and normal maps… just in case… and because normal maps are awesome ^^).
Dithering
the second step was to perform a dithering to obtain an interesting points distribution ; dithering results in a binary (black and white) image which is easier to vectorize.
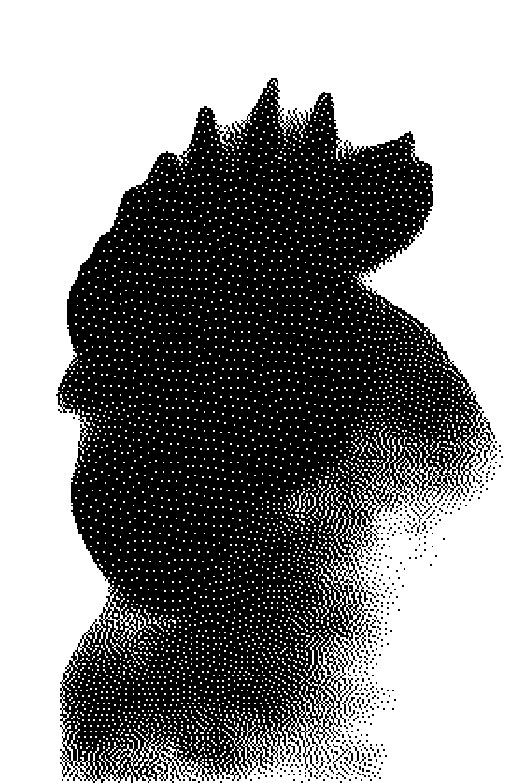
that’s where I understood that the most interesting patterns to vectorize appeared in the “grey areas” rather than in the highly contrasted ones.
Reaction Diffusion
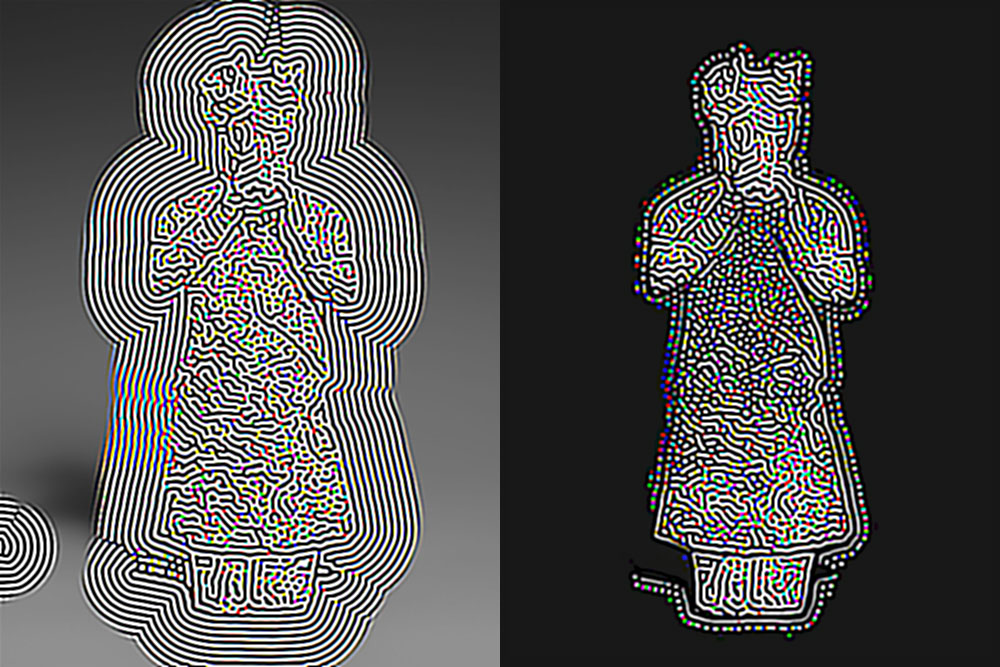
I later skipped the dithering in favor of a Reaction Diffusion pattern, the RD lets this kind of “grey areas” patterns emerge and – as the RD patterns emerge – the dithering is completely obliterated. RD produces the image below after a couple of iterations.
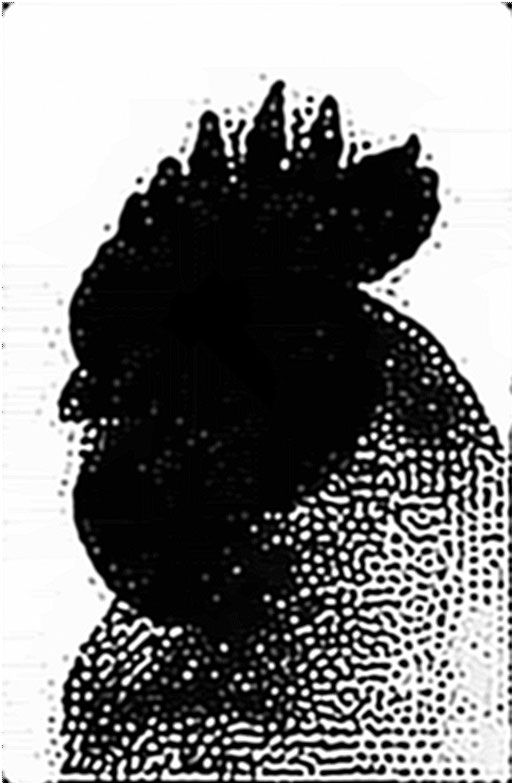
Reaction Diffusion can be achieved in many ways, the fastest / dirtiest I know of is to successively apply a sharpen filter (reaction) then a blur filter (diffusion), as simple as that. the good thing is that both are convolution fiilters (the examples don’t work but the snippets will). First I implemented the filters manually but it was very slow and hard to fine tune so I used glfx.js to speed up the process and gain more control over the parameters.
below is a series of settings that show how the result varies depending on the radius of the sharpen/blur filters ( r: 0.5, 1, 2, 3, 4, intensity: 1.5 ).
the first row show the 3 input images: the source, the edges and the salience map computed by Ubernet, the second row shows an unconstrained Reaction Diffusion pattern emerging and the third row shows the same pattern constrained by the saliency and edges map.
the “constrained” version preserves the morphology of the subject better.
to constrain, I only draw the saliency map and the edges after the RD pass. this way the pattern is kept away from some areas of the picture.
that’s why the matlab version of the saliency map wasn’t the best choice ; too far from the subject’s morphology.
it’s also important to note that it would work with any gradient.
here’s a live demo of the reaction diffusion + skeletonization.
Disclaimer, GLFX may run into Context loss issues, which will break the demo, if you don’t see anything below the controls, it may just be broken.
and the source code in the shape of a zip: statuettes.zip
the skeletize checkbox allows to perform a skeletonization post process ; should give something like this (if the skeleton is redrawn on top of the canvas):
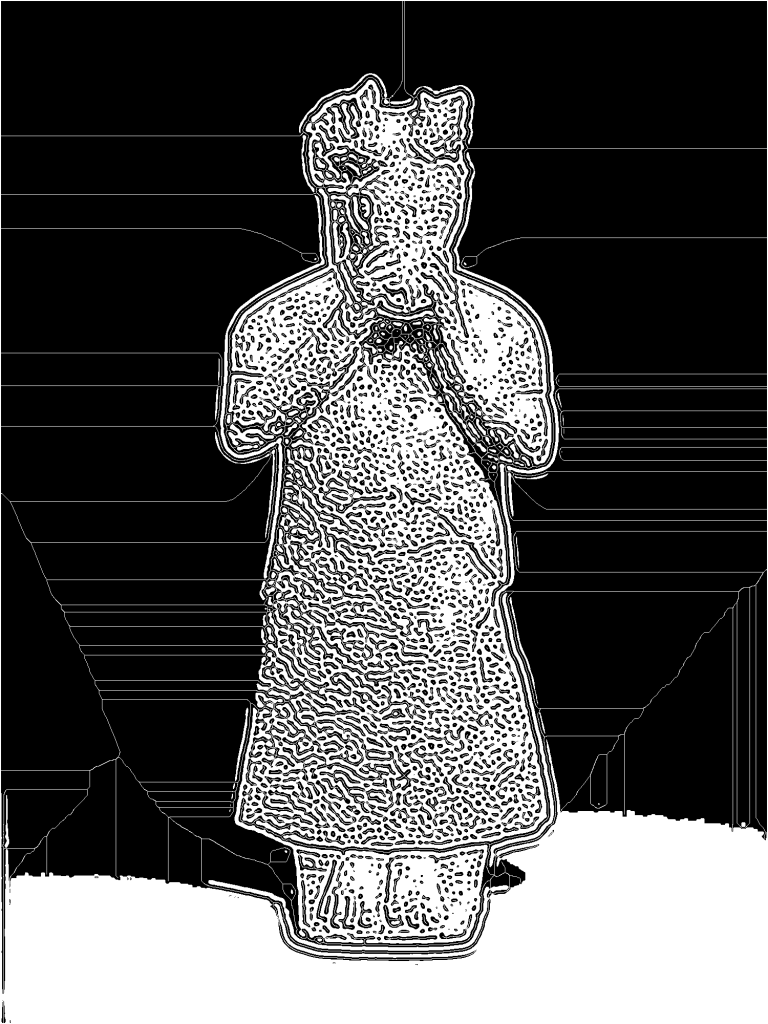
the black areas were skeletized

the white areas were skeletized
Vectorisation
the last step of the demo above is to threshold the image ; turn each pixel to black or white depending on whether their luminance is below or above a given threshold value.
|
1 2 3 4 5 6 7 8 9 10 11 12 |
function threshold( ctx, threshold ) { var imgData = ctx.getImageData( 0,0,w,h ); var col; for( var i = 0; i< imgData.data.length; i+=4 ){ var luma = imgData.data[ i ] * 0.299 + imgData.data[ i + 1 ] * 0.587 + imgData.data[ i + 2 ] * 0.114; col = 255; if( luma < threshold )col = 0; imgData.data[i] = imgData.data[i+1] =imgData.data[i+2] = col; } ctx.putImageData(imgData, 0, 0); } |
so that we get a binary image that is eligible for vectorisation.
my first (naive) idea was to use component labelling and on-the-fly vectorisation as shown below (and that you can try here too) but it wasn’t efficient and gave poor controls over the process.

instead I used Potrace, a small Open Source utility that vectorizes binary images. it’s easy to use, robust, fast and there are some handy flags the most important of which are:
-t n, –turdsize nsuppress speckles of up to this many pixels.
-a n, –alphamax nset the corner threshold parameter. The default value is 1. The smaller this value, the more sharp corners will be produced. If this parameter is 0, then no smoothing will be performed and the output is a polygon. If this parameter is greater than 4/3, then all corners are suppressed and the output is completely smooth.
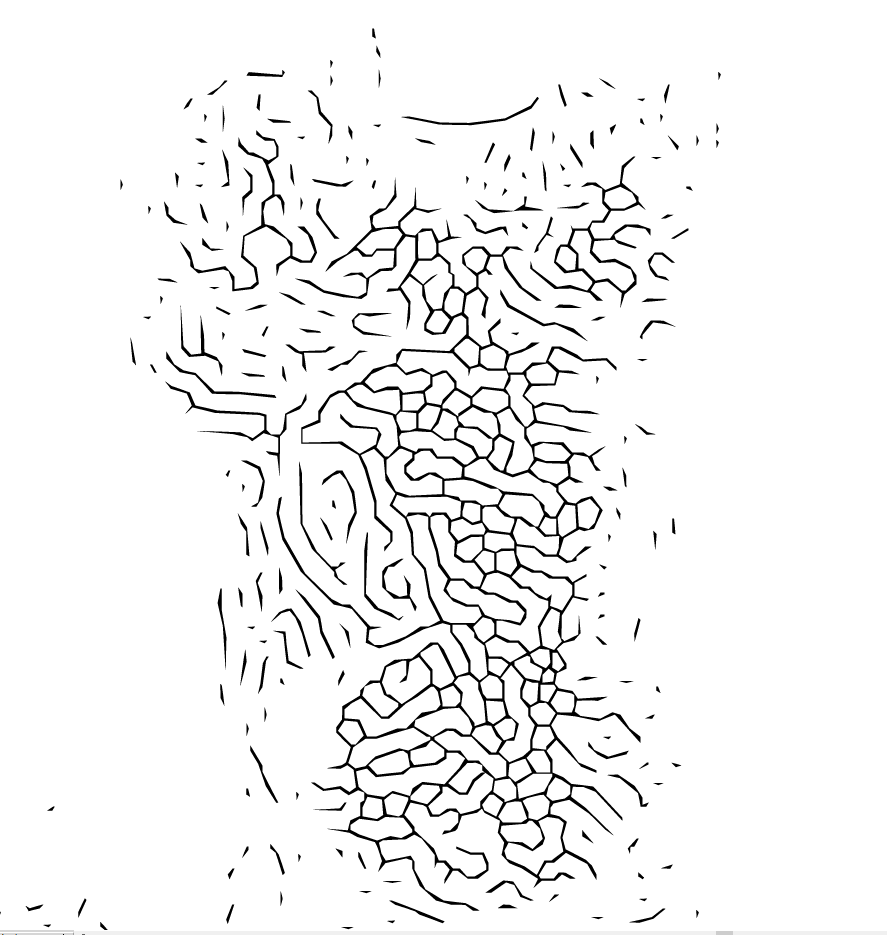
the vectorized result can be either filled or traced as a skeleton. depending on what you feed Potrace, you’ll get one of those.
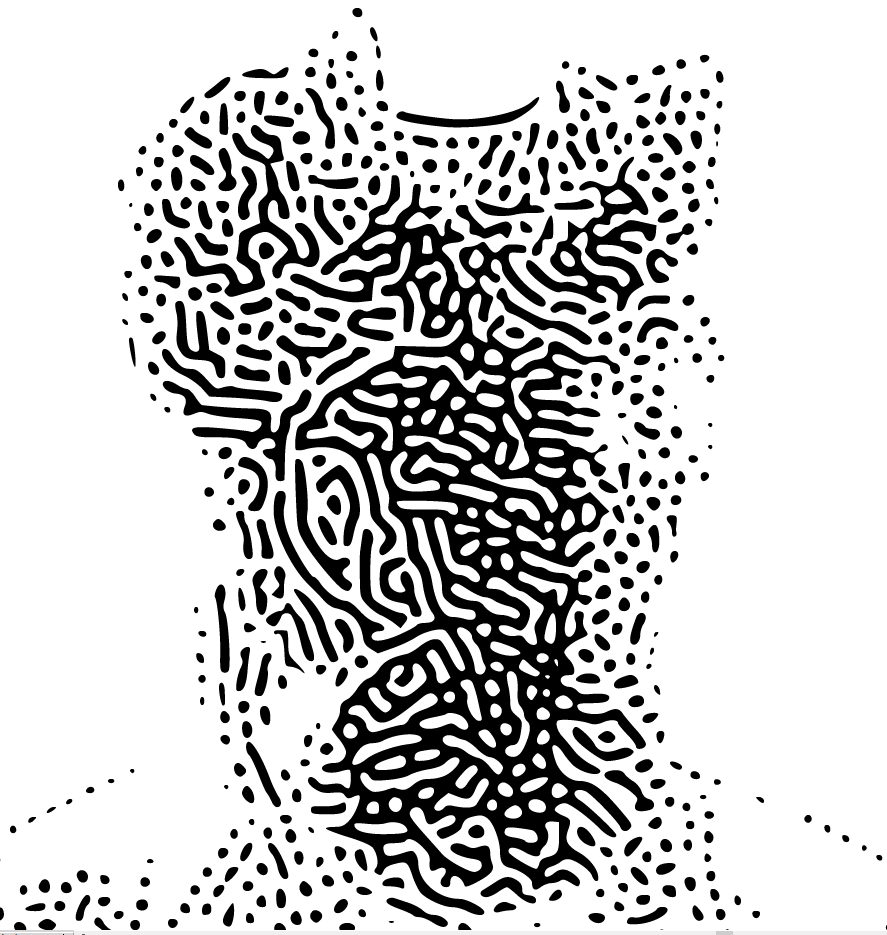
default vectorization
the bothering part is that Potrace doesn’t handle PNG, so I had to convert PNGs to BMP but that’s quite ok :) the last thing was a clean up in illustrator to remove the speckles or the frame around the picture.
and that was it!
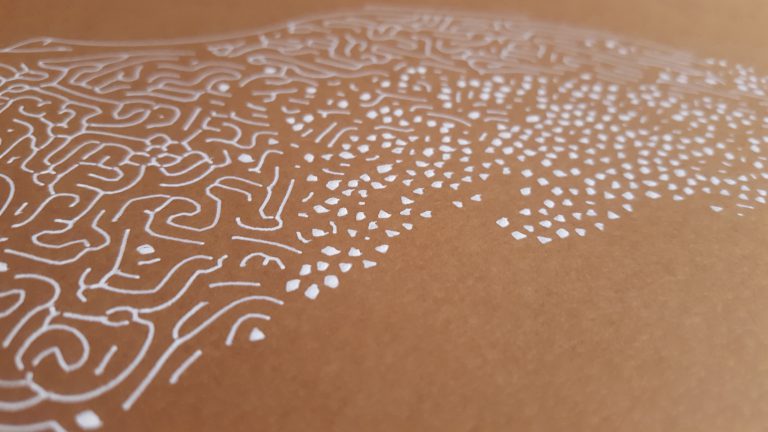
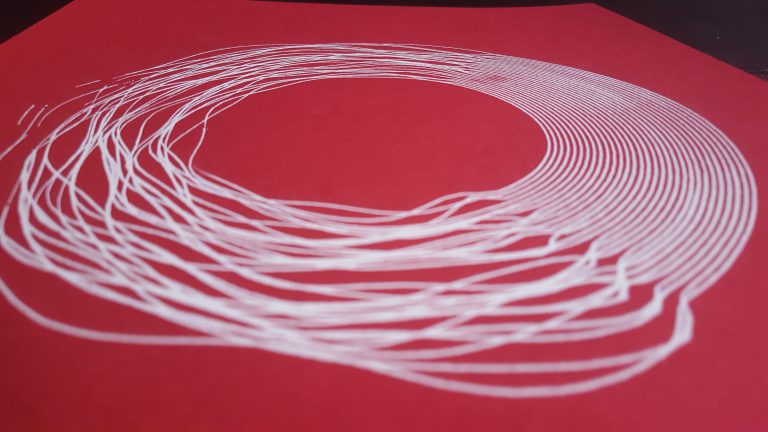
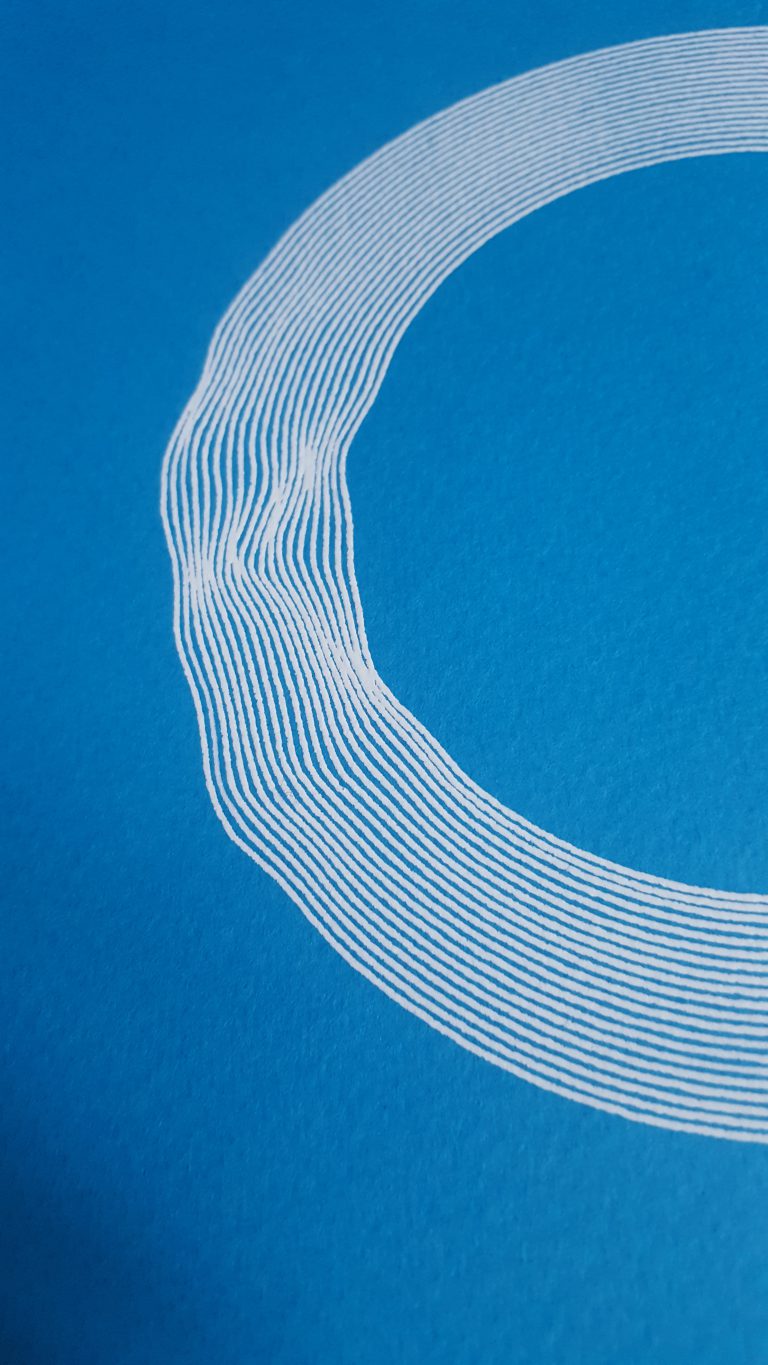
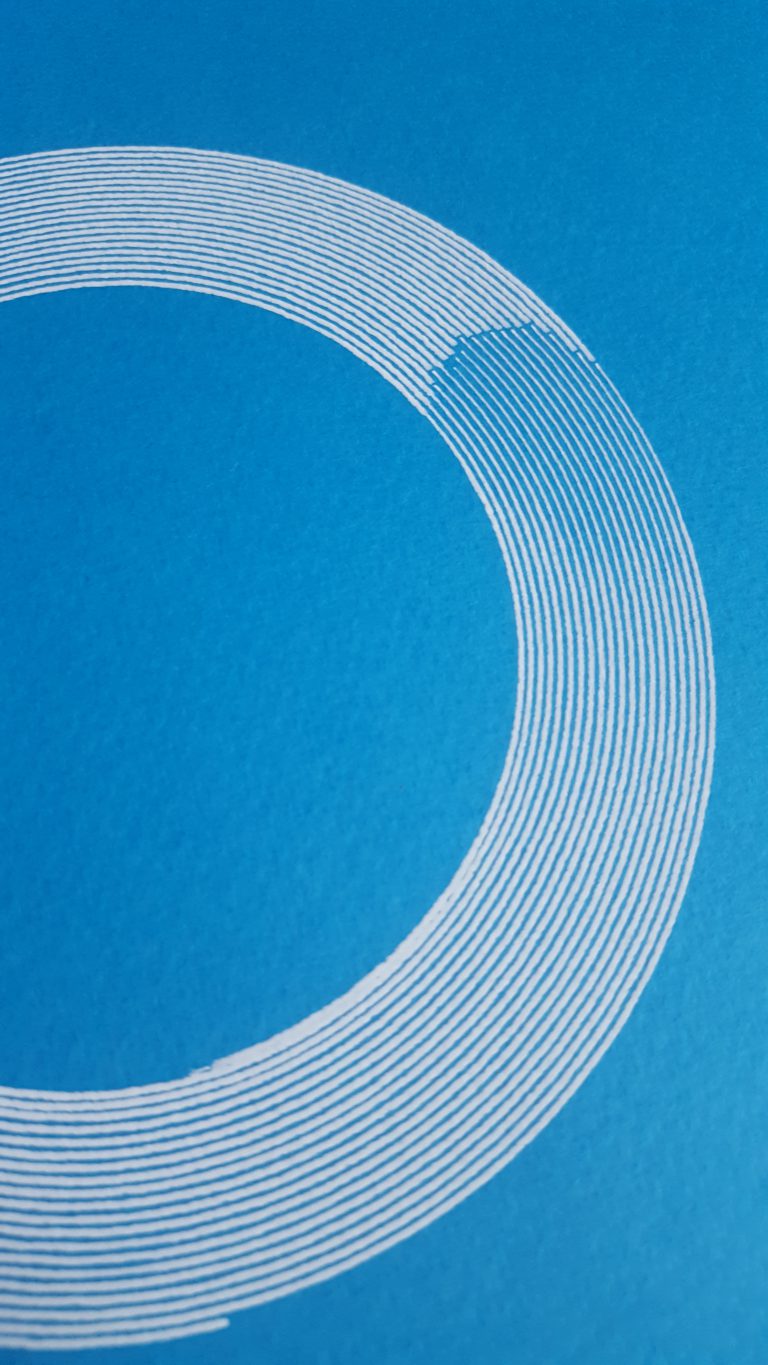
I’ll just put some more pictures here for your enjoyment :)
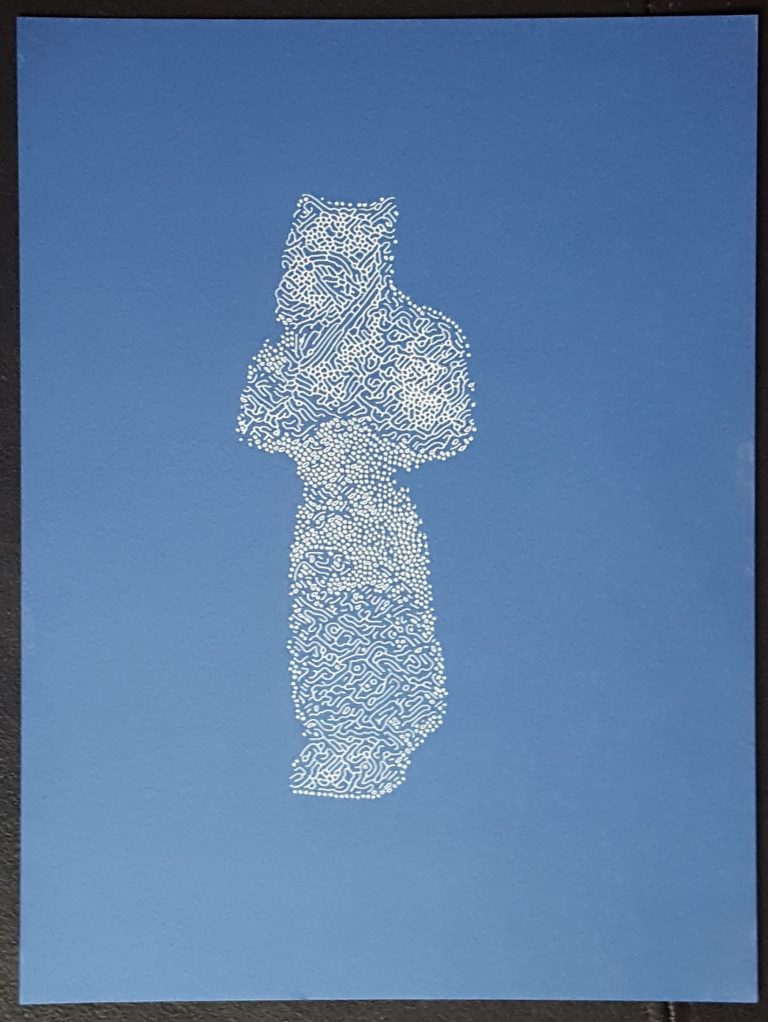
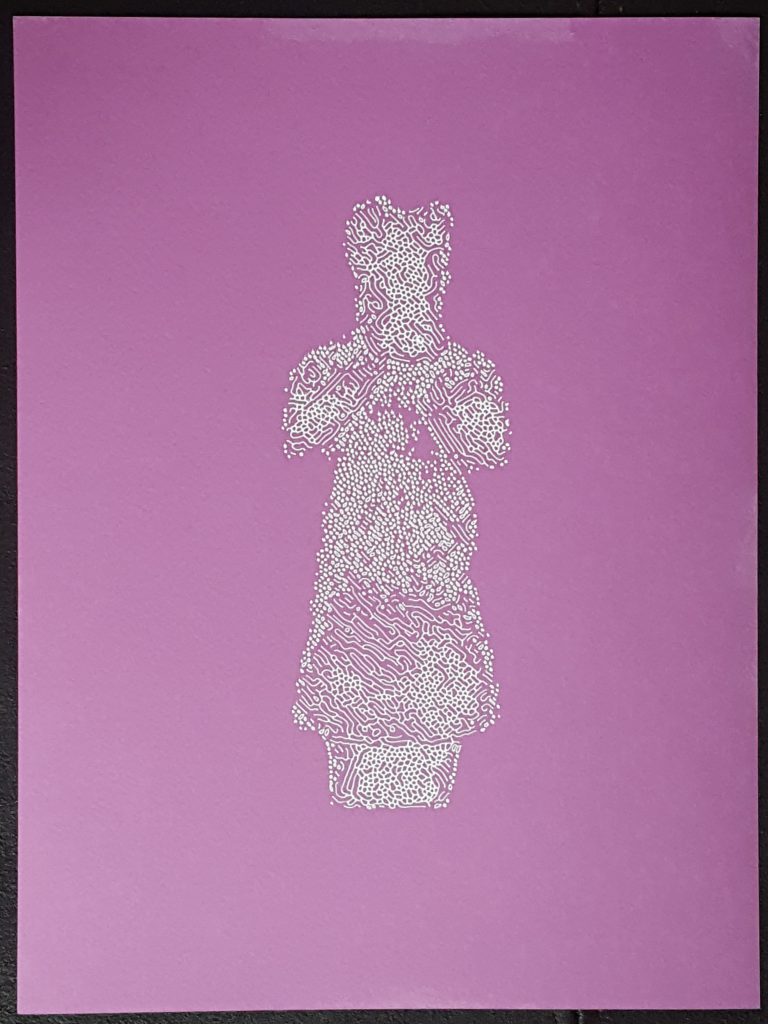





Wow !
Very cool!